

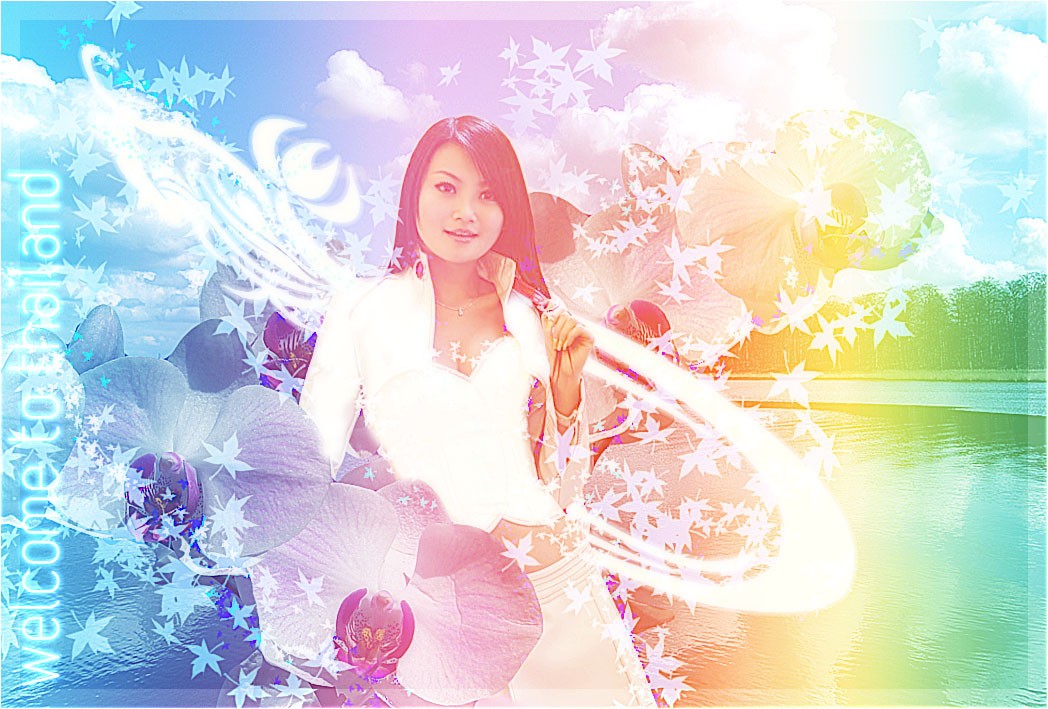

Se the blending mode of the newly applies leaves to “Hard Mix”.
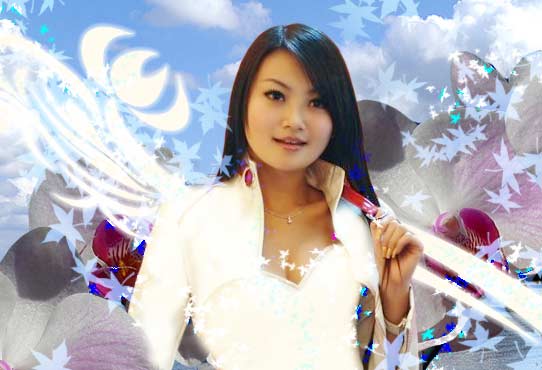
Step 12:
At this point, flatten your image.
We, however, since we wanted to make the PSD available for a download, grouped all the layers and duplicated the group. the first group got flattened and this is the layer we are going to work with, while the second group with all the layer intact remained hidden. In case anything goes wrong, you can always go back to the fully layered version and work from there.
So, the flattened canvas now has no layers, and we are using one image. Go to Curves again, and reduce the Red Channel, in the same manner as you see on the screenshot below:

Step 13:
After that, switch to RGB channel and lighten the image up a little bit:

Step 14:
Create a New Layer. Select the Gradient Tool, and using one of the default gradients called “medium Spectrum” (which is mild rainbow gradient), we are going to fill the new canvas with this gradient.

Simply pull the line from left to right, adding rainbow across the entire canvas.
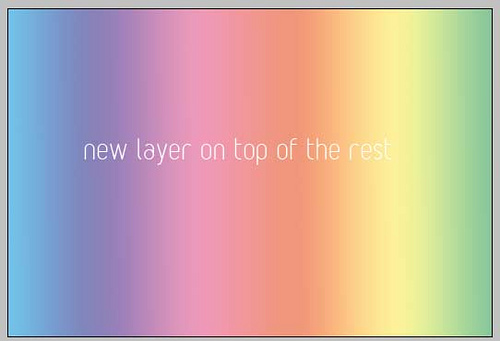
Step 15:
Set the blending mode of rainbow layer to Screen. Now it’s semi visible, and we can see the angelic our artworks becomes:

Step 16:
Flatten the image once more (or, if you created group with unmerged layers before, simply merge the rainbow layer with the image below).
using your merged layer, go to Curves once more, and darken the image by pulling the RGB’s channel line downwards:

Step 17:
Go to Filter >> Sharpen >> Smart Sharpen…
Apply the following sharpening settings. This won’t only give you a very nicely sharp image, but thanks to the smart sharpening settings, it gives depth to colors by giving the field more gradient towards the colored edges:

Step 18:
Duplicate the layer.
Using the upper layer, go to Filter >> Blur >> Gaussian Blur and apply 3.7 pixels blur.

Step 19:
Set the blending mode of the upper layer (the blurred one) to Multiply. This will add a nice glowy effect without disturbing the sharpness of the image.

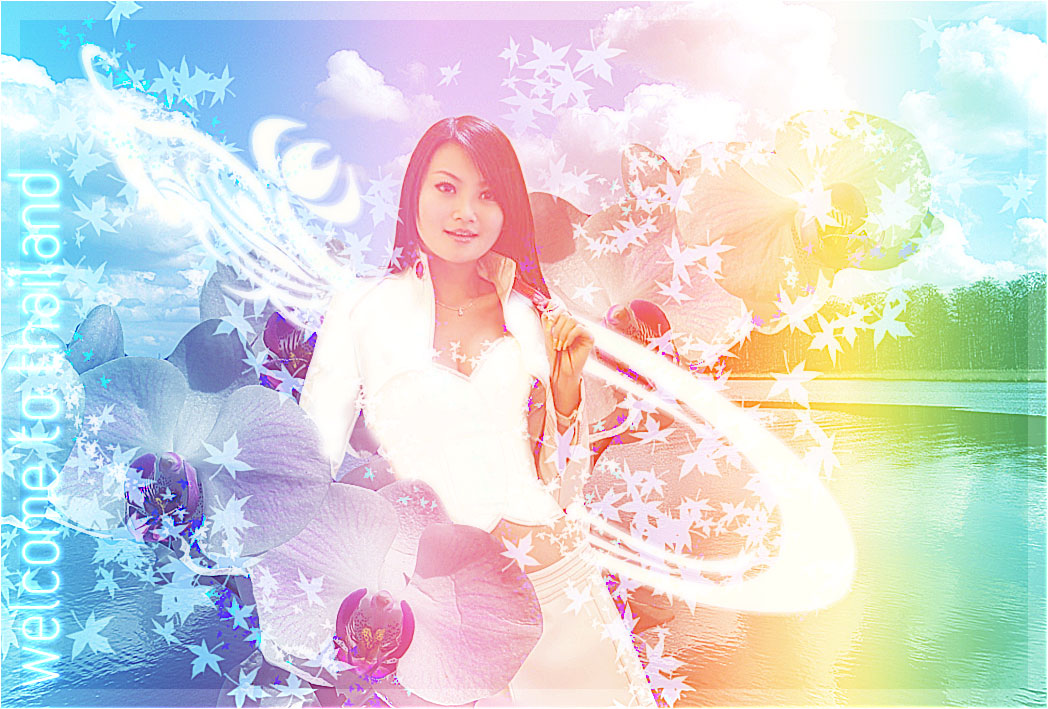
Done!
And here is our final outcome — Welcome to Thailand!
Hope you enjoyed the tutorial and please feel free to download the PSD file below, however it’s only distributed for learning purpose, commercial use is strictly prohibited. Stock images are the copyright property of their respective owners.
Play around with this tutorial and don’t forget to join our Facebook group and Flickr pool


Very well written… Great tutorial, Appreciate your efforts. Thanks! 🙂
-Deepu
Thanks a lot, Deepu!
Very interesting use of layers, color, and a theme on tourist-oriented media…. But where is the PSD file to get the swirly flourishes for later use? I like those ones shown. Best wishes, and a wonderful 2010 to all!
-will
Oh, so sorry about the PSD, I forgot to add it. Fixed now, please refresh the page and download 🙂
Best wishes for you in the new year too, Will!
Good, beaatufil efect armoni
Sooooooo Cuuuuuuuute Thaaaaaaanks
I love your site I love the whole program in fact im gonna try it myself to see if its hard to create colors are awesome.
Thanks for showing me how to do it.
Richard
Doing the tutorial right now I downloaded the brushes but it says it’s not compatable with my PS I have CS4.
Hi, what is not compatible, the brushes..?
Great tutorial, thank you so much! Keep doing such things 🙂
it’s great… i like
thanks for inspiration
regards
heru
Wow man, this site is B-E-A-U-T-I-F-U-L! Good job.
For anyone serious about photoshop check this out (USA only) http://bit.ly/psoffer
[…] 24. Design Thai-Styled Angelic Artwork From Ordinary Photos […]
[…] Design Thai-Styled Angelic Artwork From Ordinary Photos […]
[…] Design Thai-Styled Angelic Artwork From Ordinary Photos […]
Thanks for the great info. I love your whole sight. I’m disabled and trying to start a photo editing business just to have something to do. I would love any advice you want to share.
[…] Design Thai-Styled Angelic Artwork From Ordinary Photos […]
Thanks, can’t wait to try this one!
My cousin recommended this blog and she was totally right keep up the fantastic work!
Links…
[…]Sites of interest we have a link to[…]……
[…] Автор: Lorelei Перевод: Игорь Арония. Ссылка на источник […]
[…] Источник: loreleiwebdesign.com […]
[…] Design Thai-Styled Angelic Artwork From Ordinary Photos […]
Very professional. clean and simple design and very easy steps.