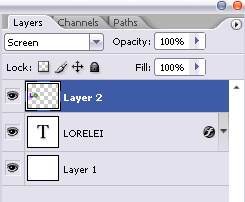
When you have finished, (and this is very important) choose the “screen” mode for this layer
and it would mean your letters look cute like this..
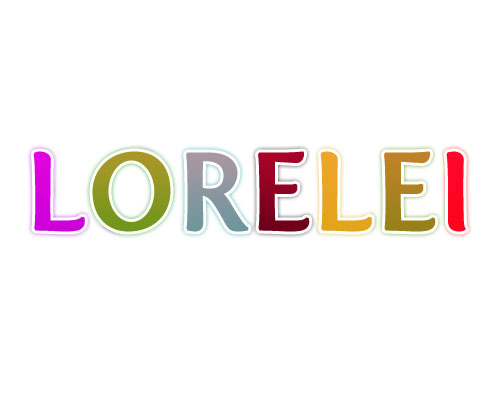
if you don’t like the idea of having a shadow colored as well, i recommend to load a selection on the letters (by clicking on the layer with letters in your layers window) then go to Select >> Inverse and (make sure the doodle layer is selected) — press Delete.
If you are not bothered with the shadow or not planning to put any background underneath it, just skip this step.
Next, as explained above, click on the letters layer, to load the selection, and then go to Select >> Modify >> Contract.
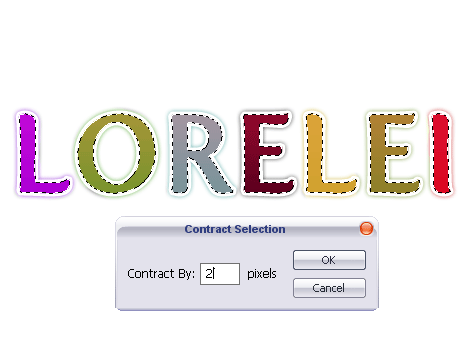
Contract the selection by 2 pixels. Press Ok.
Then chose Rectangular Marquee tool, and when the “substruct from selection” mode is chosen, cut the lower part of the selection..
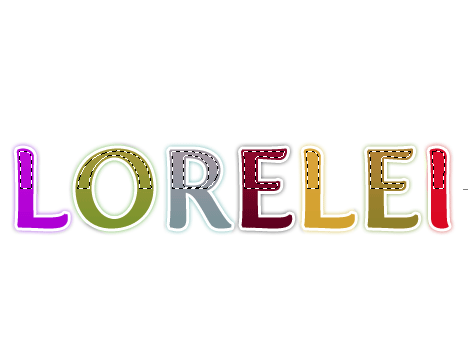
Don’t de-select yet.
Make a new layer, select the gradient tool from white to transparent, and make a light gradient from about 10 pixels above the letters to around 5 pixels after the end of the selection.
This is what we got so far..
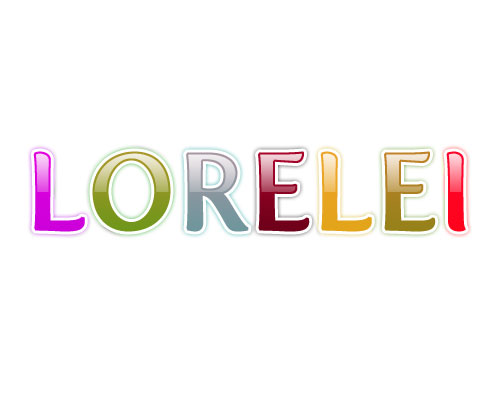
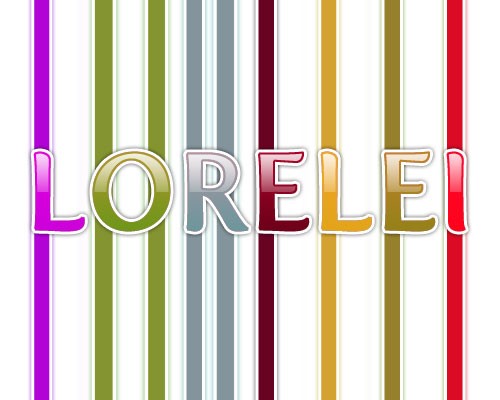
That’s it, your text is ready! If you want to create a strips background like I did in the first image, simply make a copy of this whole canvas and everything that is on it, flatten it and using the horizontal single row marquee tool located somewhere in the middle, press Ctrl + T to “stretch” the line and then press Enter. Drag this bg layer under the gloss, letters and doodle layer…

In this case, you cannot skip the step I posted previously about deleting the remains of the colored layer. Hope you enjoyed the tutorial and please feel free to download the FREE psd file..
Pages: 1 2




Very easy tutorial was hopping for more complex steps but easy to follow and well explained.
Hi Loreli,
It’s a nice tutorial I actually enjoyed but would be great to see some more complex works like the text effects you used to do before.
Will the fantasy art tutorials be revived… ever? 🙂
TOTALLY GREAT!!!
Awesome tips. I never thought photoshop would be this easy. Thanks for sharing!
Doesnt workk 4 me =( I got over it another way, but when I choose screen everything changas to rly ugly colours, without right shape etc
Hi! I love this design & effect. I’m kinda new at this so I wanted to ask you first. I’m not sure what the rules are regarding using tutorials in my own site design. If I recreated this am I able to use it in my own design? Do I need to credit you? Or pay a license fee? Please let me know.
Thanks!
for the last step , I could not select the colours… i get this error “warning: no pixels are more than 50% selected the selection edge will not be visible”