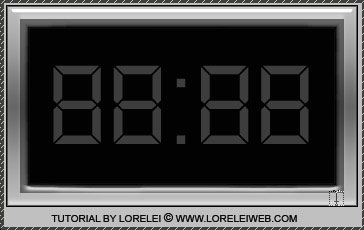
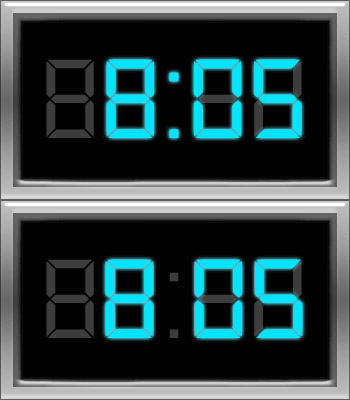
Duplicate the typing tool layer. On the duplicated layer, type different digits, for instance – 6:05. Use an eye hurting blue colour of your choice. WE used #04e3fd, but you can use a different hue, even green or red color in the first place.
Make sure that your new layer lays exactly over the grey digits. You can add a bit of outer glow with the same blue colour if you want, to make it more shiny, but it’s not a must.
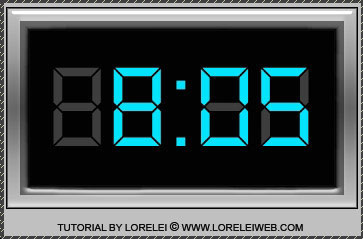
Save this image to a NEW folder in your computer, and call it 1.jpg
So, this is your first pic…
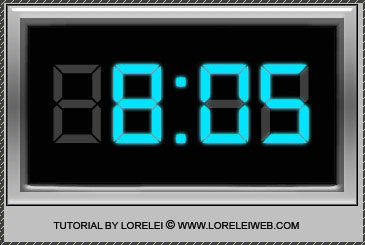
Now, remove the blue dots between the digits… (leave the grey layer on the background intact)
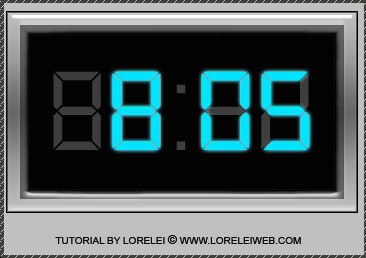
and this will be your image nr. 2, save it as 2.jpg to the new folder where the first image is stored.
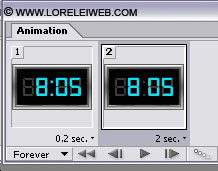
Open ImageReady.
Go to File >> Import >> Folder as Frames… and select the folder where your two images are located.
Set these time settings for the animation.
Ans save optimized as .GIF file (don’t forget, you can only save animations as gif files.)
That’s it, here is your result! Hope your enjoyed the tutorial!

Pages: 1 2




thank u