gravitational pull. So when we create planet rings in PS, we need to be aware that these rings are not going to be smooth.
So in the noise dialogue box, make sure ‘gaussian’ is selected, and set a noise amount of about 8-10. Now go to levels, and bring the middle slider up so the values read: 0, 0.35, 255 (You can either change the levels before copying and pasting, or afterwards. If you do it before, remember to change the blending mode of the layer to screen once it’s been pasted in.)
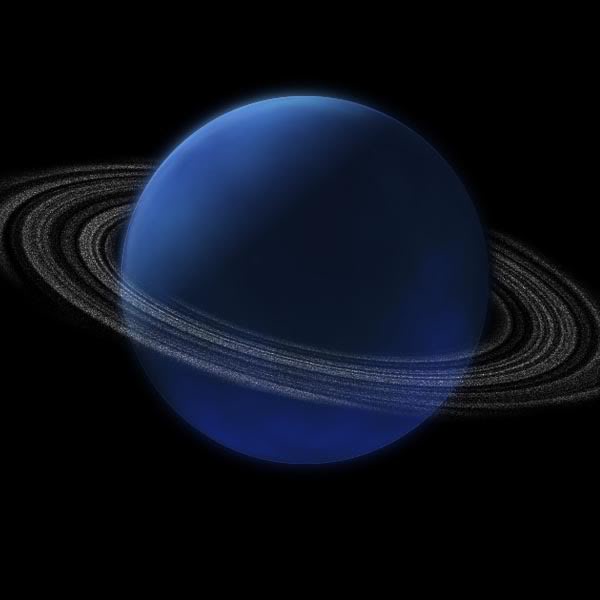
Then copy and paste your rings onto the image of the planet you created in the previous tutorial. Scale the rings to fit, erase the unwanted areas, and perhaps do some fine-tuning of colours using the hue and saturation panel, or the variations panel.
So here is the final image:

Finally – be creative, and have fun. And remember that space is gigantic, and we, as humans, have only just started to explore the tiniest part of it. The rules and physics that govern our tiny galaxy are only just beginning to be understood, and who is to say that the same rules (while they will help you achieve more believable images) will apply in other galaxies, in other universes? And also remember that sometimes, even the far-fetched ideas can be based in fact. Why NOT have a planet with 13 moons…Neptune has…and Jupiter has a massive 63! (At last count, anyway…)
Pages: 1 2


