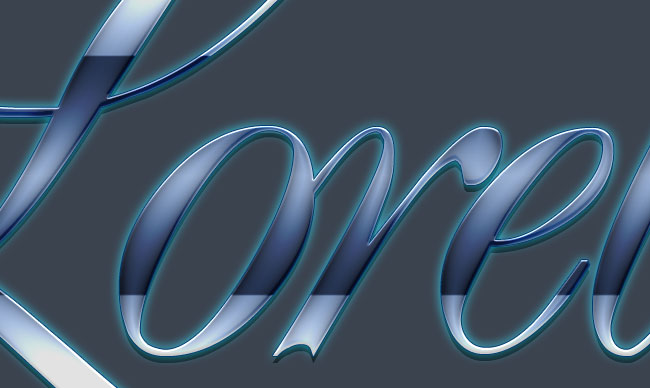
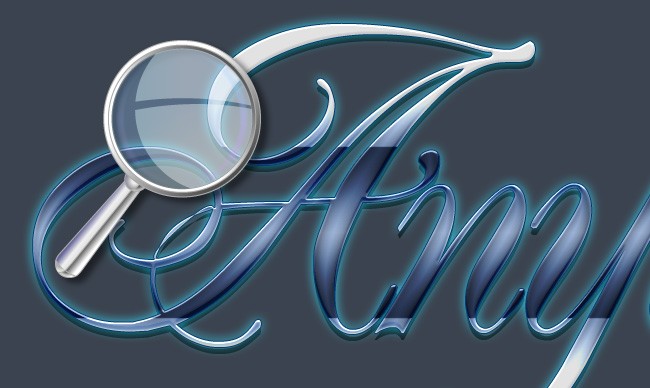
Today we are going to create an extremely beautiful text effect that you will love, I guarantee. It will look good on both dark and light backgrounds (slightly better on the dark ones) and it will look equally impressive at any font size, though again, because of the perfectly thought-through details, big and curvy fonts will present this effect significantly better. So, let’s get started!

Step 1 – Create a new canvas of any size you wish, we used a relatively small one and filled it with dark blue #3b434f. Select a curvy and nice font that will be able to show beautifully all the details for this text effect. We used Renaissance font and went for a really big size!!

Step 2 – Go to Layer Styles and apply the following settings:

We set the shadow to black and reduced the opacity to almost half, this will look amazing on even bigger font size and grained or busy background.

Set the inner shadow to black and full opacity. The curve quality is called “chrome” and it is one of the default ones in most Photoshop versions.

Set the Outer Glow to Linear Dodge and use a crazy blue hue as we did – #00e4ff.

Pay attention to inner glow, using semi transparent white color and Linear Dodge effect as well, we are getting a very nice look…

Cove – Deep, this is the curve you will use for bevel effect, note that this text effect doesn’t look bevelled at all, yet the mild settings we use give it full depth and 3D feel.

We are using “Gaussian” countour for Satin settings, with mild and beautiful mauve hue.

Gradient overlay – #808080 to black, and then once again #808080 to white. Note that we are using “Reflected” style, but even any other will look great!

Almost invisible #003e73 dark blue 1 pixel stroke will add wholeness to this pixel perfect text effect.
That’s it, viola! The effect is ready. We made this tutorial after seen online brochure printing from UPrinting and their awesome designs. If you like the way it looks but can’t get the settings to work (though I encourage you to try, it’s very easy!), feel free to purchase my PSD file for $1 only, and the download is instalt, if you don’t forget to click the “return to merchant” orange button at the end of the payment. Scroll back up for details. Enjoy!



Most websites furthermore contain the connection to down load this program that is needed…. PSD in order to html code or perhaps XHTML transformation ; there is a good software to the : media applications and also less expensive …photoshop tutorials
Nice tutorial