Today we are going to make a tutorial on frosty text effect. While it’s still cold and wintry outside, I thought it would be high time to supply some more wintry text effects for our readers.
So, begin with making a new canvas of any desired size, and for now please use plain white (#ffffff) background. Later on we will add a custom texture or picture to the background, but for now, it will be much easier for your to work and see all the effects against the white canvas.

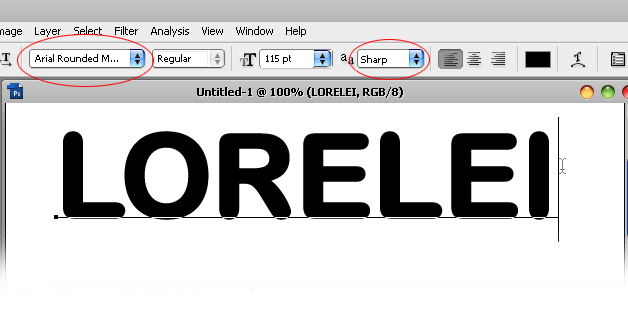
Select the typing tool and using Arial Rounded MT Bold font, set to “sharp”, use very big letters, say over 100. For the purpose of the tutorial we used 115, however if you choose to download out PSD, you will see that our original canvas consists from letters with font size 195.
Type your word.
The main part of this Photoshop tutorial consists from precise application of the layer styles as we are going to work with custom designed curved, textures (default) and a lot of other features. Let’s begin and please try to follow us throughout the tutorial if you wish to achieve the same result.
Go to Layer >> Layer Styles, and start off with “Drop Shadow” options. Apply the settings as you see below. For the shadow here we used a very dark blue, almost black color: #003059. However, feel free to chose a different hue if you are going to work with a light background canvas afterward.

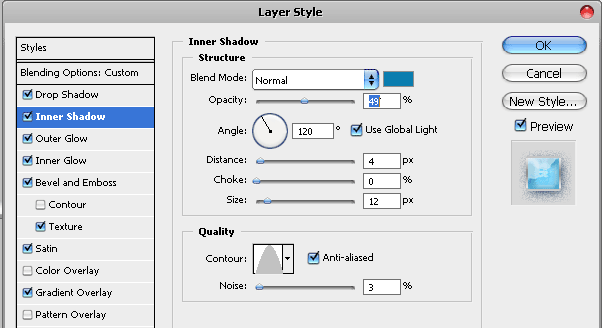
Switch the tab to Inner Shadow. For Inner shadow we used a gray-blue color #0a7eaf, which will nicely complement the overall wintry feel of this text. Please pay attention to the fact that we are using “Noise” here at 3%, to add to the grainy / snowy effect.
Switch to Outer Glow and apply a very dark outer glow effect, we used #0a1732 with 35% which gave us light yet dark outlined shade.

Working our way down (in Photoshop..), to Inner Glow settings. This one gives our text effect the feeling of light and reflection, yet this is not going to be a direct spotlight, rather a cold reflection as you are used to seeing when looking on ice. Also here please note that we have applied a 17%, very visible noise.

Add Bevel and Emboss settings for extremely curved effect.
Pages: 1 2


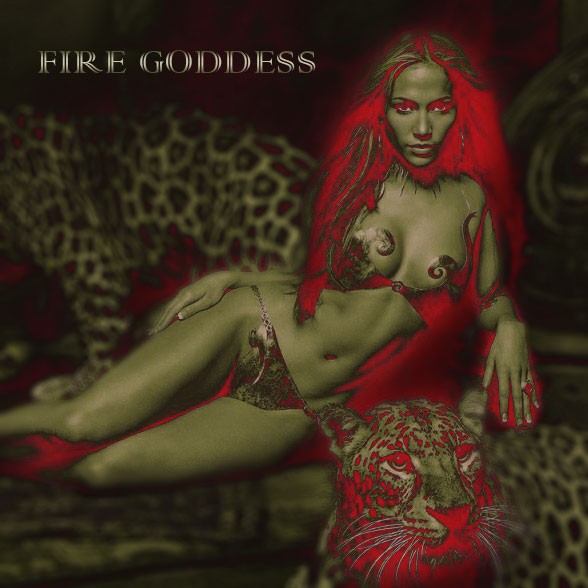


OK tut, klik http://photoshop.nazory.eu/podle-http-loreleiwebdesign-com
looks awesome!
Amazing how you thing of the options that you might use
Thanks, glad you like it!
I don’t know how to insert color. Because my text still grey… I want to be blue text!
try setting the gradients to shades of blue or alternatively use color overlay options with the blue shade of your choice. 🙂
I done during 1 weak!!
I am proud of my self!!
Thank you for your teaching!
But not same as you…
How can you update some steps in tutorial?(like layers…)
i cant paste an image behind the text… how do i do that?
Where do I get the Weave 5 pattern?
Wow, this is really cool!
Awesome tutorial! Thank you!
great tuts..you are good artist..I am working as a web designer at http://www.websitedevelopment-india.com and it helped me to improve my design work..thanks
Really a helpful post forever. I believe that it will help with my next project