Now go to Filter >> Blur >> Motion Blur, and add this motion blur. This is similar to fake rain effect, only we will add little distance to the blur to create the illusion of snowflakes, rather than rain scan lines.
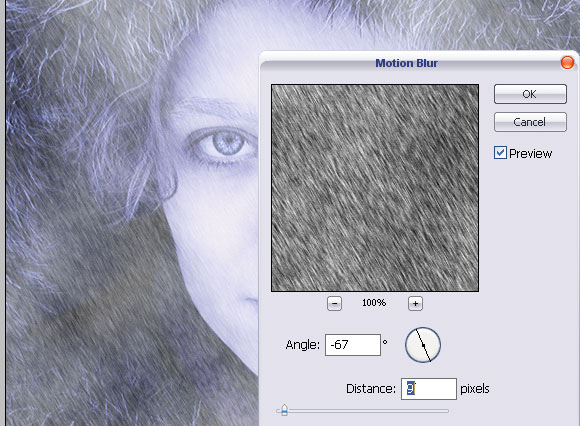
At this point, flatten the layer.
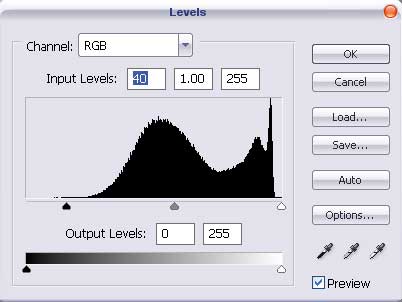
Now that your entire canvas consist from only one layer, go to Image >> Adjustments >> Levels… and apply these settings. We want to add a little contrast to the dark hue of the picture…
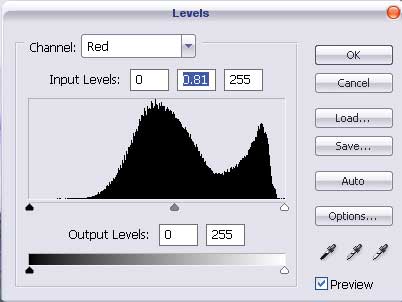
…and a bit of blue/green hue to highlight the coldness.
That’s it! Here is your image. In a few simulate steps we took this girl from an autumn atmosphere to the Northern Pole.
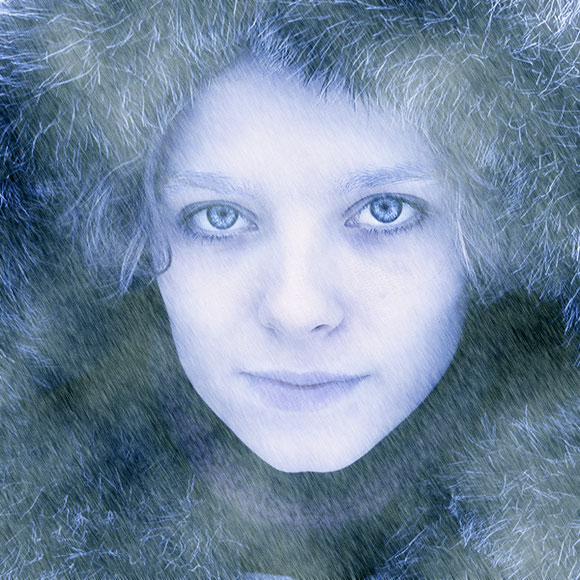
This is it, here is your final result before and after, hope you enjoyed the tutorial!




nice
From this tutorial I learn a new technic in a photo.
Thanks for pswish.com for publish it.
I am having alot of trouble getting her lips to turn blue and her eyebrows to frost. I’m using CS4. It’s really frustrating me because i love the outcome of your tutorial.
I have Photoshop Elements 7 and nothing happens when I press D, but I make another layer and fill it black then the whole picture becomes dark blue.
It’s probably something to do with that whole foreground thing right?
How do I change that, the same way that was done in the beginning?
very very handy for Magazine cover designers ….nice one …thanks for sharing