Okay, as you could guess, we are going to make a cool, snowy and even arctic photo effect. This is not going to require any advanced skills even though the result looks complicated and professional. All you need to do is follow this tutorial step by step and in the end you will get the same, or even better result as we have here in our presentation.
Start off by selecting a photo of a girl or boy you are willing to freeze. You can use your own or a stock photo, our image comes from sxc.hu so if you like, use this one as well.
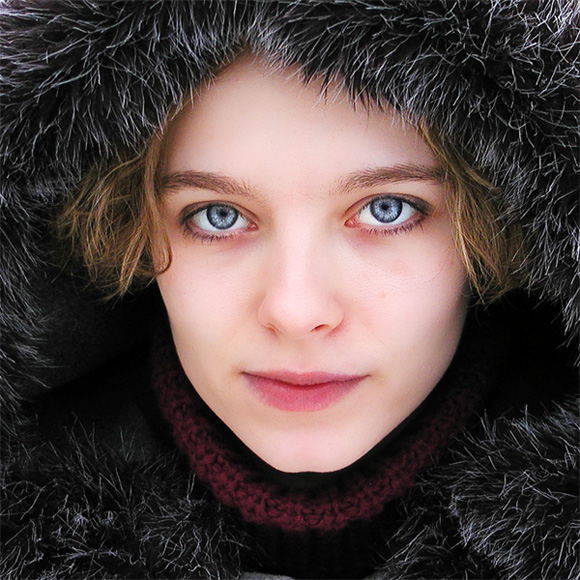
We are going to work a lot with duplicated layers so please pay attention when I say you should duplicate your existing layer. So… Please duplicate the layer. Select the upper one and go to Image >> Adjustments >> Gradient Map. Use one of the default gradients (dark blue to white), and if it makes your image look like a negative, check the “Reverse” box. Otherwise just click OK.

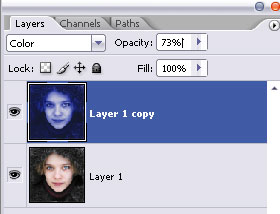
While your blueish layer is selected, go to layers panel and set its setting to “Color”, then reduce the Opacity of the layer to about 73%. If you see that your image is too dark or too blue, you can reduce the opacity even more, BUT… at your own risk, okay?
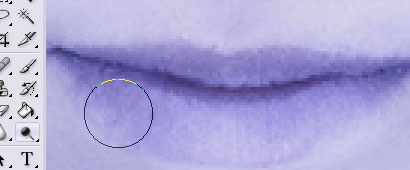
Now, what characterizes a cold face in snow? Pale lips, eyebrows covered in snow… we are doing to achieve this effect extremely easy. In your layers panel select the first layer (the colorful one) and using the “Dodge Tool” with soft 40px brush, go over the lips area and then carefully over the eyebrows to make them




nice
From this tutorial I learn a new technic in a photo.
Thanks for pswish.com for publish it.
I am having alot of trouble getting her lips to turn blue and her eyebrows to frost. I’m using CS4. It’s really frustrating me because i love the outcome of your tutorial.
I have Photoshop Elements 7 and nothing happens when I press D, but I make another layer and fill it black then the whole picture becomes dark blue.
It’s probably something to do with that whole foreground thing right?
How do I change that, the same way that was done in the beginning?
very very handy for Magazine cover designers ….nice one …thanks for sharing