Photoshop has changed the photo editing game by giving equal footing to amateurs and professionals. If you take a picture and send it off to a pro for editing, you can be quite sure that he’ll be using Photoshop. If you have any type of e-commerce business selling products on eBay, Amazon or on your own website, Photoshop will end up being your best friend. Once you know how to use it, you’ll be able to make the edits on your own to create top-notch product images.
This is professional grade software but you should note that any software is only as good as the individual using it. There are a lot of advanced techniques that you can use with this piece of software but we’ll be showing you the most important methods so that you can start using it right away. With the Photoshop techniques provided below you’ll be able to take a photo of any product and turn it into an instant ad-ready image.
- Sharpen the Image

If you weren’t able to take the perfect shot with everything completely focused, don’t worry. The photo can be sharpened through the use of built-in filters. This is done by increasing the amount of contrast between side-by-side pixels. The light part of the edges becomes lighter while the dark parts become darker. At the same time, the rest of the picture remains the same.
The simplest method is to go to “Filter” located in the menu at the top and click on “Sharpen”. Usually you’ll only have to click on “Sharpen” once to see perfect results.
The “Sharpen More” feature is a filter that creates sharper contrasts between the pixels than the “Sharpen” filter mentioned above. This filter should only be used on smaller areas in the photo where extra sharpening is required and not on large areas.
The “Sharpen Edges” filter offers the ability to make quick fixes. This filter works on the edges of the elements found in the image without creating a grainy appearance.
Photos that aren’t completely in focus can be sharpened with Photoshop to create crisp and clear images. It’s extremely difficult to sell products that are represented by blurry or grainy pictures. You’ll find that sharpening the picture only takes a few minutes once you’re used to operating the software. At the same time, however, it’s a good practice to always start with the best photo possible to achieve the best results.
- Lighten or Darken the Photo

The “Curves” command in Photoshop is a powerful and effective tool that you can use to darken and brighten your photos. This is one of the more difficult features to run on the software but once you get the hang of it you’ll find yourself using it over and over again.
Start by clicking on “Images” in the top menu and then click “Adjustments” followed by “Curves”. You’ll see a box that has a diagonal line in it with a scale of tones ranging from light on the right-hand side to dark on the left. To make your adjustment click near the center of the diagonal line and then drag it down or up to darken or lighten the tones.
You may have to play around with this feature a bit before you feel comfortable with it. Don’t allow yourself to feel intimidated by this “Curve” function, however, since it can do wonders for your e-commerce photos and make them shine with the perfect light intensity. As another example, check out how bright the second jump starter image looks on this page, after I lightened it to make the product stand out.
- Cropping Images

If you’re like most people that routinely take pictures of products to sell, you’re using a white background. You may not think that cropping your photos is necessary since you’ll only be removing part of the white background but in some cases cropping is necessary. When your photos are all uniform in size it’s easier to put together a collection of them that can be used on social media sites, a blog etc.
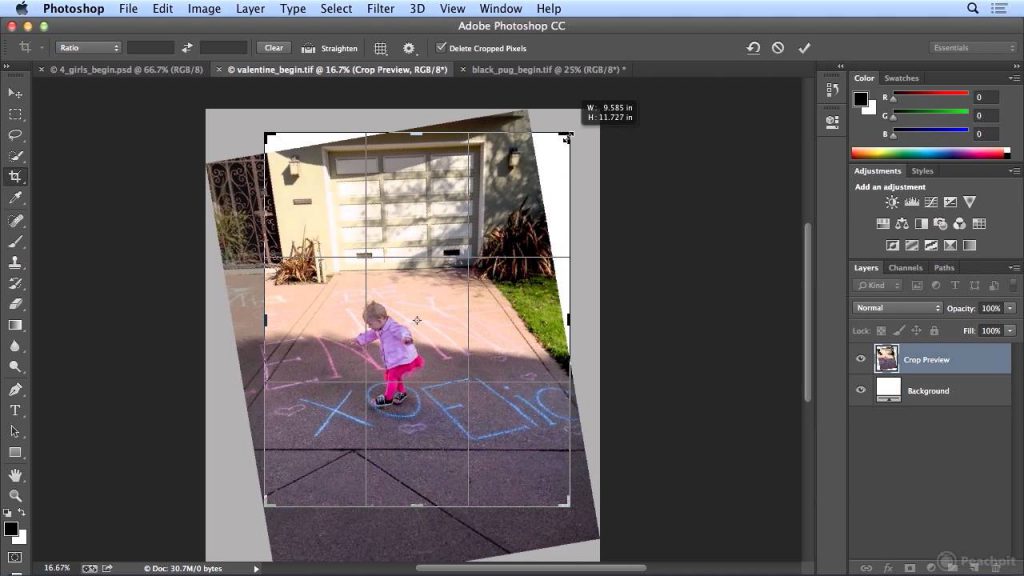
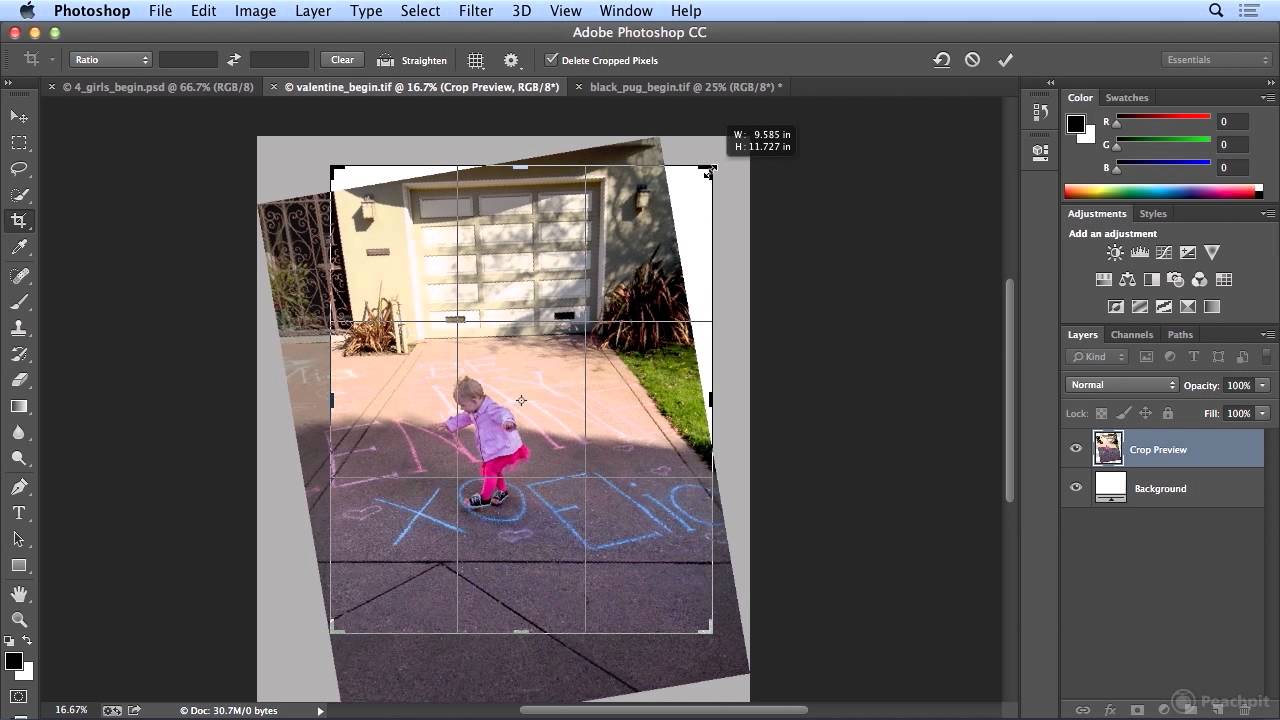
You’ll find the “Crop” feature in the toolbar on the left hand side. If you are trying to get uniform height between pictures, you’ll type in the resolution, height and width you want in the boxes you see on the screen. The amounts you fill-in will be consistent with the other images that you have previously cropped.
Using your crop tool, drag the rectangle that will act as your image border to the area of the picture that you want cropped. If you want to keep the whole picture intact, guide the rectangle to the outside edges of the photo. This will keep the size of the photos consistent, which will provide a professional appearance when you feature them together as a collection.
Getting Started with Photoshop
Photoshop is an extremely powerful tool and when you first start using it try to use a light touch. Start by making minor adjustments at the beginning to find out how to properly manipulate the tools. It won’t take long before you’ll get the hang of using Photoshop and will be able to adjust your images in just a few short minutes.
As well, it’s important to note that when you’re first starting out you’ll ruin some of the photos you’re working on. Start by using copies of your photos only. You won’t want to destroy a fantastic shot you took of a wedding dress and then have to try to re-create that shot again. There are advanced features that can be used involving layering that can help maintain the integrity of the raw photo but if you don’t want to dig too deep into Photoshop and all of its complexities, just use copies of your photos at the beginning.
There are thousands of different ways to use Photoshop and a lot of courses available that will show you advanced techniques. If you are just starting out with this amazing software though, the 3 suggestions listed above can get you out of the gate and running. In most cases they will be enough to take your snapshots to a brand-new professional level to increase sales.


