Heavenly Castle – Final Result:
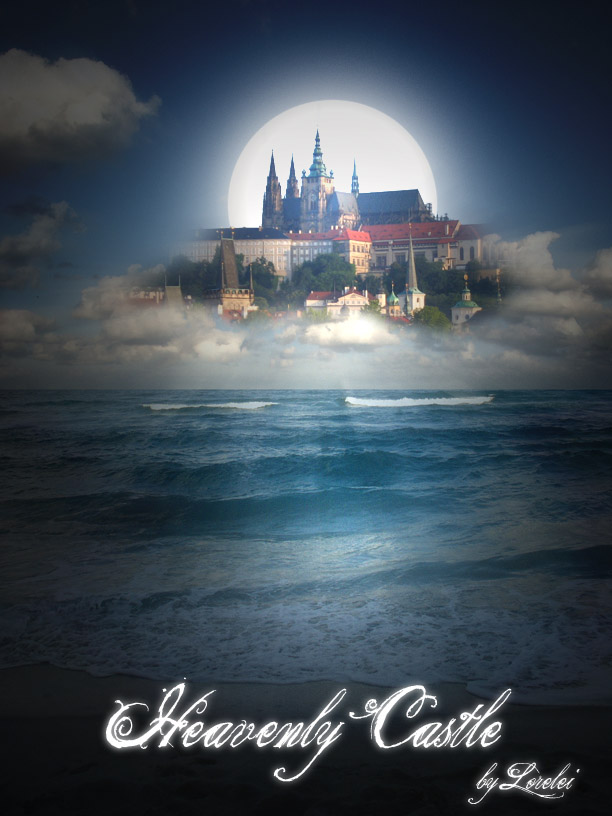
So, this is the photo-manipulation tutorial we are going to make today, it will create the illusion of a castle, weaved from air above the sea. These sorts of illusions sometimes happen when you feel like an object levitates above the water. So…
1. Start of by taking a picture of a shore. Feel free to use Digital Stock Photo.
2. …and, a photo of some caste (we used Prague Castle, but you can take any object u want for this manipulation)
3. Place the photo of the castle, above the “sea” layer.
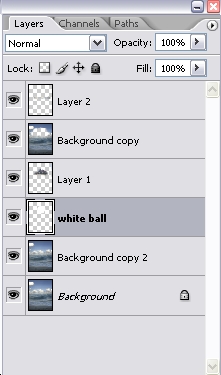
4. Now, using the eraser tool with soft edge (50px or even bigger), erase everything around the castle, leaving only the castle (or object) itself. This would create the illusion, as if the castle “stands” on the clouds. I’d not recommend actually cropping it precisely, as it should have a dreamy effect and soft edges, otherwise your layer would not look any natural.
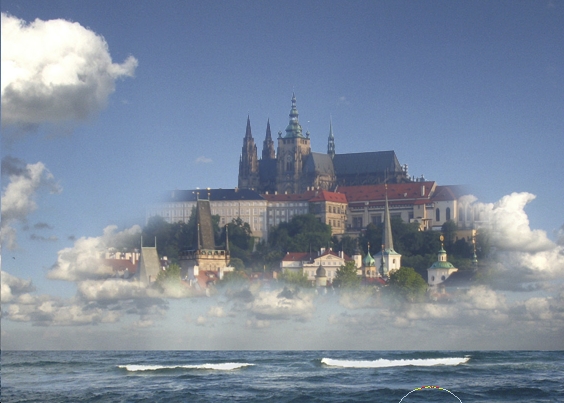
5. Duplicate the layer with the sea, and drag the copy on top of the castle. Using the eraser tool, remove the spot above the castle (you can reduce
the opacity while erasing, so you’d see what you are actually doing). This will make the blending more natural.
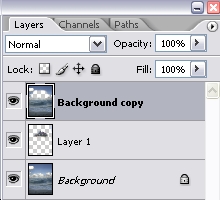
6. Make a new layer, and place it behind the castle’s layer. Choose a Rounded Brush with Hard edge and using the white colour (#FFFFFF) make a sort of stamp, so you will get this kind f sun (or moon) behind it)
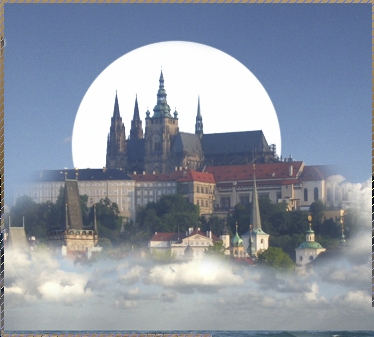
7. While the white ball is selected, go to Layer >> Layer styles >> Outer glow…
Pages: 1 2


Amazing tutorial! What font did you use for the text?