Step 9
Get back to the background layer (winterscape) and go to Image >> Adjustments >> Exposure. Apply the following settings to reduce the lightness of the image, basically what reducing exposure does is simply making the image darker, while preserving the light spots, which is important in our case.

Step 10.
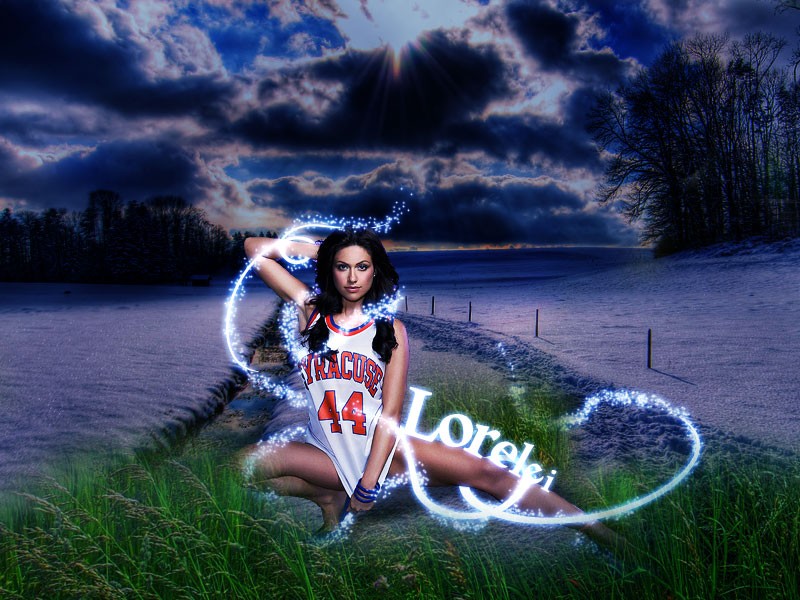
As you can see, now the background and the main character in our tutorial look way too different, so what we are going to do is — duplicate the lady’s layer and hide one of them for now. We will need it later so do NOT delete it. Using the layer that remained visible, go to Image >> Adjustments >> Match Color.
Match the lady’s color with the background, IN the body of your composition.

You see, not it looks so much more organic and blends in nicely into the low contrast background we currently have.
Step 11
Now we are going to add sparkles to the twirly lines. As I said in the beginners, this tutorial was designed for beginners, so we are going to use the easiest techniques here. Select the brusg tool and go to the brushes interface bu pressing F5.
Apply the following settings to the Brush Presets. Our aim is to create small, chaotically spread dots, that will eventually become sparkles. This is absolutely easy and will require only the very basic Photoshop skills, as long as you follow the right settings for “Scattering“:

Step 12
The next step is to add the sparkles. You can work directly on the layer with twirls, which will save you the work of apply the same Layer Style afterward, however if you are not sure that you will achieve the best result right away, create a new layer and simply draw twirls over the existing ones and around the lady, in places it’s not been done with the shape we used. be sure to add sparkles to places where the cropping was poor, in our case it’s the feet area. Also, it’s a good idea to add sparkles around the hair as it makes the edges look smoother.

Once you have done that, we can move on to overall image effects and moving to the lucky step:
Step 13
Create a new layer. Using #7283a8 as your foreground color and #c3cfd7 as your background, go to


omg, this looks totally awesome, like one of the best tuts out there!
I love this tutorial, another great composition from you!
very nice tutorial
Please tell me where I can download those shapes !