Step 5
Applied the shadow? Pressed “Enter”? Great, now Go to Filter >> Blur >> Gaussian Blur and apply mild blur — remember that shadows can never really be sharp.

Reduce the opacity of the shadow and set the blending mode to “Multiply”.

Step 6
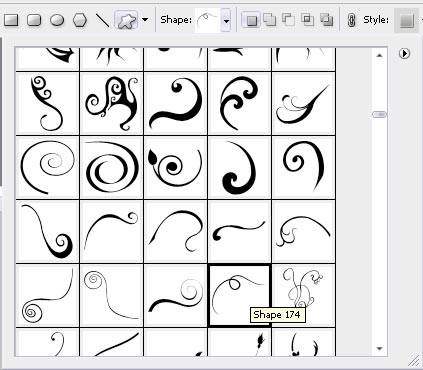
Next, we are going to add these little twirls. Now the most common problem most beginner Photoshop users encounter is that in order to draw these twirly lines you need to have a great deal of experience with Photoshop. We are going to use Twirly shapes which you can download here.
Select any of them which you like most and using any color (we are going to overwrite these settings later) draw the shape.
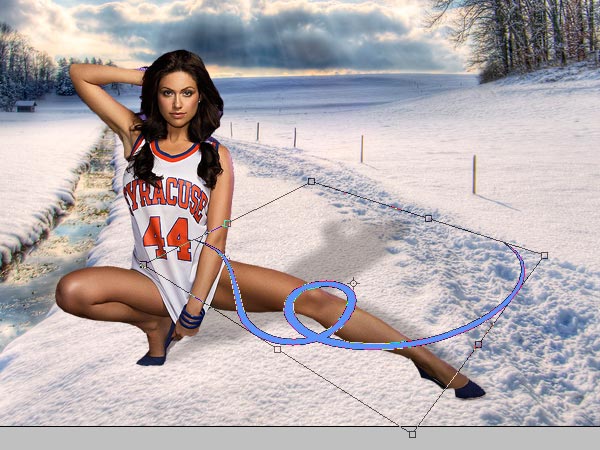
Press Ctrl + T to transform the shape so that it will have more depth, creating the illusion that it “lays” on the flow surrounding the leg.
Step 7
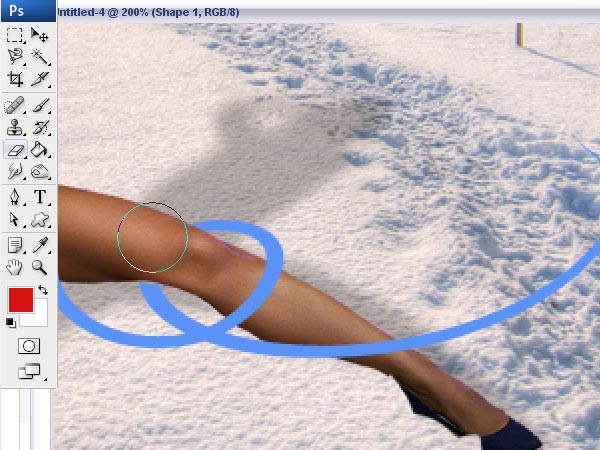
The easiest way we are going to do it Resterize the shape.
Then, select the eraser tool and using a brush with a sharp edge, remove the shape from ONE part of the leg. Be sure that you don’t remove from too many places otherwise the illusion of wrapping the leg will disappear..
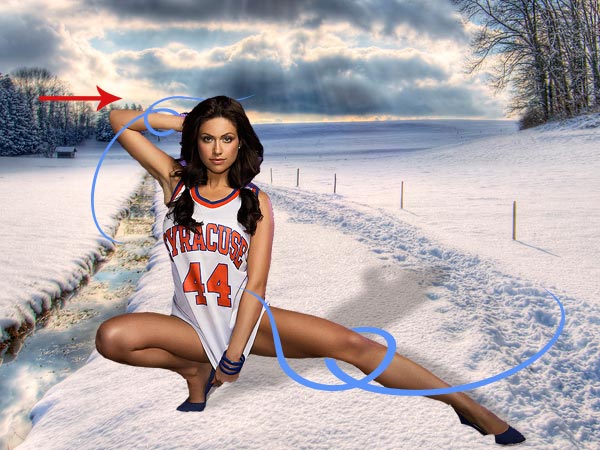
Apply the same steps on the lady’s arm. Don’t worry that the edges of the shapes don’t “meet” — we will complete these steps and add everything we need in next steps.
Step 8
Merge both twirl layers and go to Layer Styles, apply the following settings for Outer Glow and Color Overlay with pure white.

This will give your shape a very strong and visible glow.


omg, this looks totally awesome, like one of the best tuts out there!
I love this tutorial, another great composition from you!
very nice tutorial
Please tell me where I can download those shapes !