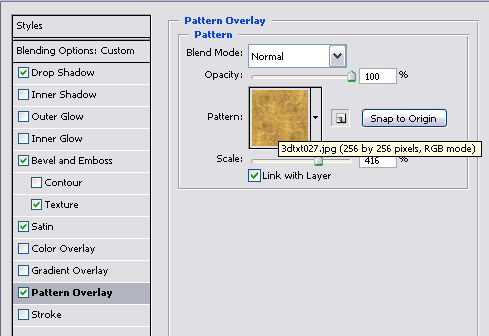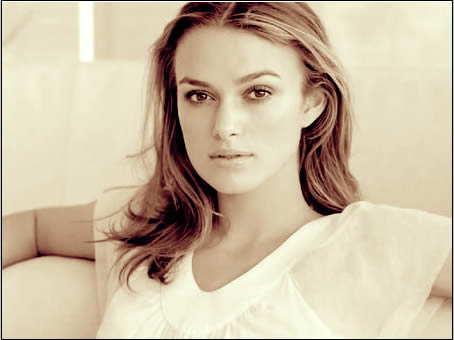

If you miss any of these steps, you will not get the desired result. So far your result should look same as the image example below:
Now go to Layer >> Flatten Image and flatten both layers. Now you no longer have multiple layers and can work with one canvas.
Go to Filter >> Render >> Lightening Effects and set these settings for “Omni” light type.
If you followed all the steps correctly, you should receive same image as we shown on the example in the beginning, only with a different text, of course. Enjoy creating!

Pages: 1 2


Great blog design, showing the entire process was very helpful! I hope to see more web design case studies like this in the future.