Very simple tutorial again, this will show u how to make a brushed metal interface, which will look on the screen just as if it was real! making brushed metal interface in Photoshop was very popular over the past year when Mac had a lot of these elements in their Operating system interface, but even now when we are entering the “web 2.0” era, I think you will find this piece of learning material to be very useful.

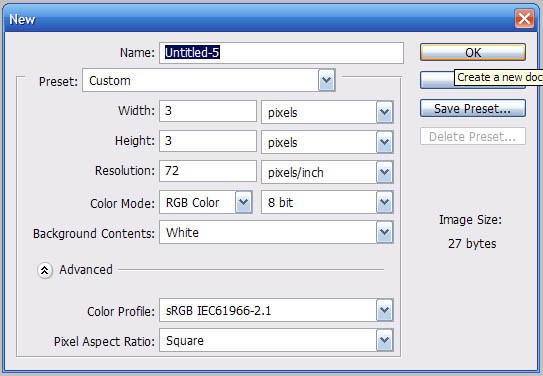
Create a new layers, lets say 500*500 pixels, and fill it with gray (#CCCCCC) and make sure that the second color (background) is white. This is very important, because some Photoshop tools, like “Fibers” — will use both the foreground and the background, so it’s important to set these colors BEFORE starting to work with tools, otherwise you will need to undo, which is a shame.
Click Filter >> Renders >> Fibers and apply the following settings:

You can play with settings, depending on how visible you want the brushed metal effect to be — the more “Strength”, the more rough your final result will look, so play with it depending on your needs.
Then go to Image >> Adjustments >> Brightness / Contrast and apply these settings, (reduce the contrast and make the image darker)
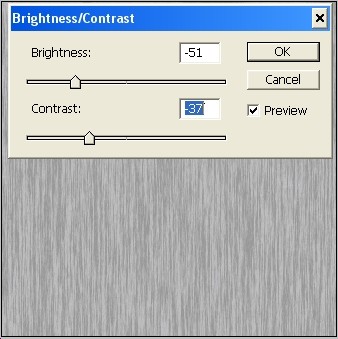
This is to ensure you are not going to work with a cheese gray and white layer, but have more mild and subtly gradient settings.
Now go to Filter >> Blur >> Motion Blur… set the blur motion to absolute vertical, and add distance.. like this:
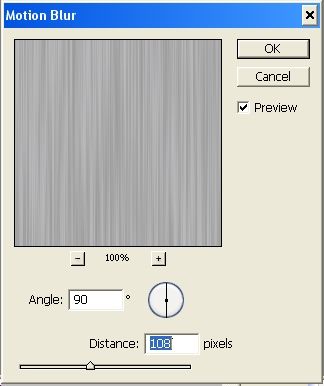
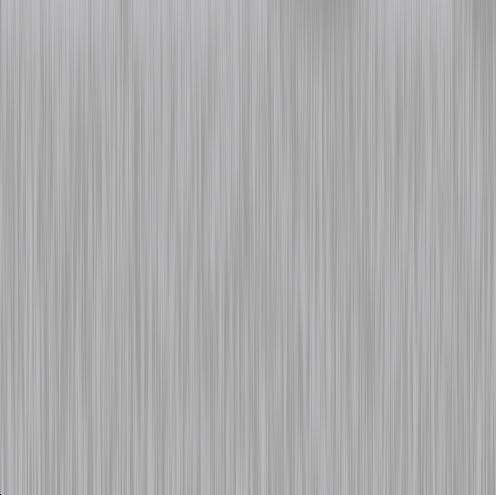
So far, this is what you got:
Lat thing, just to add some more depth to the interface, go to Filter >> Render >> Lightening effects and set the light spot to something like this (apply a few times in different spots):
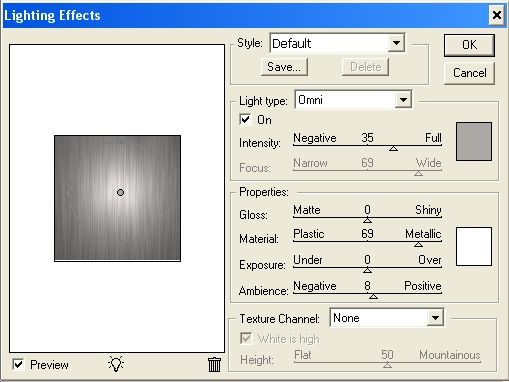
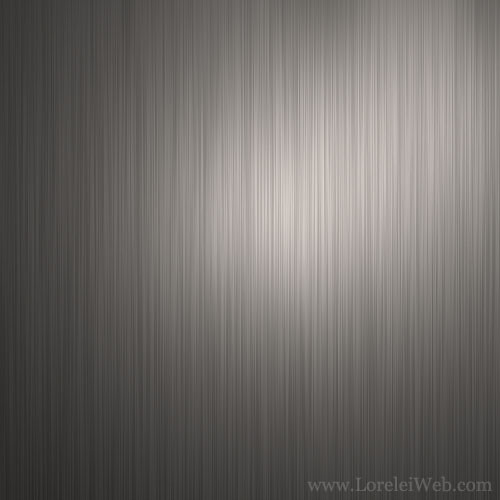
That is it, here is your final result. It looks realistic, especially if you have just one light spot falling over the metal and the rest is hidden in darkness.
Hope u liked this tut… enjoy!



Superb effect BTW…nice share …thanks