
Step 9. While the arrow layer is selected, do to Layer >> Layer Styles >> Blending Options, and apply the following style settings.

(for gradient overlay use the following colours:
#fcfcfc … #d1d2d5 … #9c9ea5 … #dddee0 )

(for Stroke use these colours:
#ecedee … #ffffff … #929494 … #ecedee … #868687 … #e0e0e0)
After completing these steps, your logo should look this way:

Step 10. Make a new layer, and select the elliptical tool again. Draw a small ellipse over the small existing ellipse, as shown below:
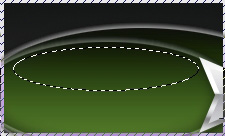
Select the Gradient Tool, from white to transparent.
Draw a line from top to the bottom of the selected area, your should get a nicely fading white shine. Then, reduce its opacity to 50% to make it look more natural.
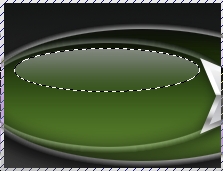
Step 11. Final step – add text to your logo. use the typing tool with font and size that would match your design, here we used Georgia font, 33px.
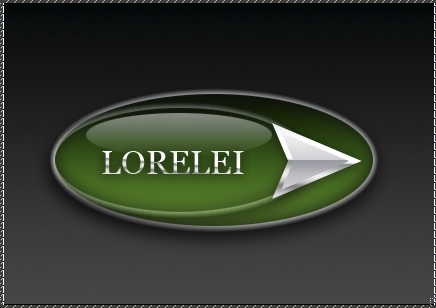
Apply same setting to the font as you did with the arrow (Step 9) only this time give the shadow 100% opacity. That is it, hope you liked the tutorial. This is the result:
Pages: 1 2






genial el tutorial ….los acabdos en photoshop lo que digo siempre son los mejores…hasta la proxima….buen tutorial…
Step 5. None of the links work for the layer styles!