Step 1. Create a new canvas, we used 430*300px, but you may want to use a different size depending on your layout size.
Step 2. Select the gradient tool and using two colours – #000000 and #454545, draw a line from top to the bottom, making your background gray fading to black.
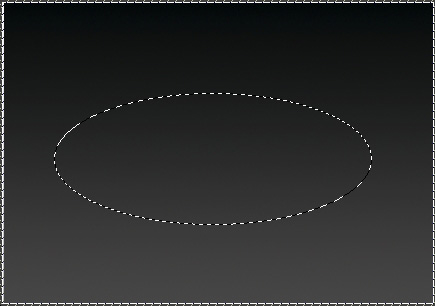
Step 3. Choose the elliptical marquee tool, and draw an ellipse, as shown on the picture below.

Step 4. Make a new layer (Shft + Ctrl + N) and using the bucket tool with any colour, fill the ellipse.
Step 5.
Go to Layer >> Layer styles >> Blending Options and apply the following styles to your ellipse.
Drop Shadow
Inner Glow
Bevel and Emboss
Color Overlay – (colour used: #4cd302)
Gradient Overlay (black #000000 and white #ffffff)
Stroke
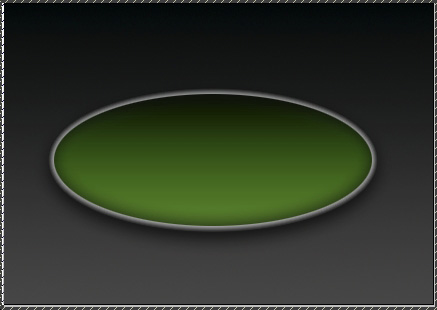
After having applies these settings, this is what you should get:

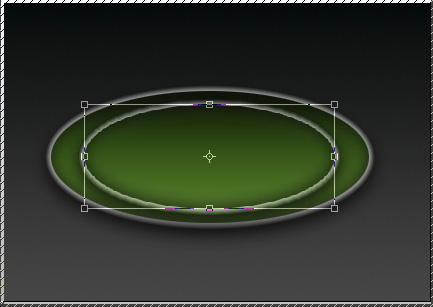
Step 6. Duplicate the ellipse layer (it would automatically have same Layer style settling). Make sure the upper layer is selected, and click Ctrl + T (to transform the layer). Hold the Shift button (in order to keep the ellipse’s proportion and re-size the upper layer a little.

Press ‘Enter’ to apply the modifications.
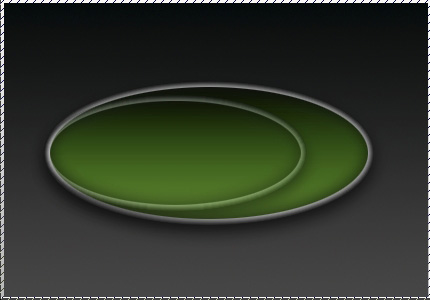
Step 7. While the upper layer is still selected, move the smaller elipse towards the edge of the bigger ellipse.
Then, reduce the opacity of the smaller layer to about 60%.

Step 8. Make a new layer.
Go to Custom Shapes and select Arrow 6 shape (comes default with Photoshop CS2. Draw an arrow as shown on the illustration below. If you are not managing to make both arrow’s ends to meet the sides of the ellipse, just draw a bit bigger arrow and then using the Ctrl + T option, resize it and move to the desire position.
Pages: 1 2


genial el tutorial ….los acabdos en photoshop lo que digo siempre son los mejores…hasta la proxima….buen tutorial…
Step 5. None of the links work for the layer styles!