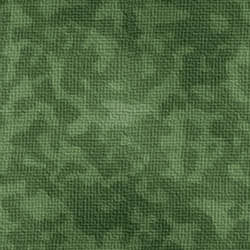
Select the upper layer and go to Filter >> Blur >> Gaussian Blur. Set the radius to 2.7 pixels, and do not overdo the blur effect as too much of it will simply result in loss of blurry effect, it won’t be seen anymore.
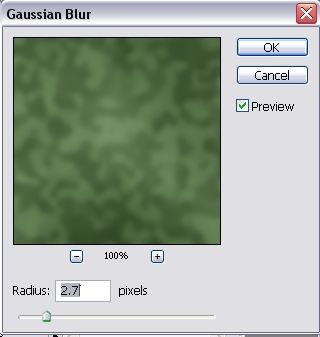
After clicking ok, go to the layers panel and set the opacity of the blurred layer to 30%.
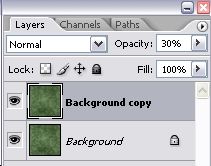
While this layer is still selected, go to Filter >> Artistic >> Crosshatch and set these settings for the blurred layer.
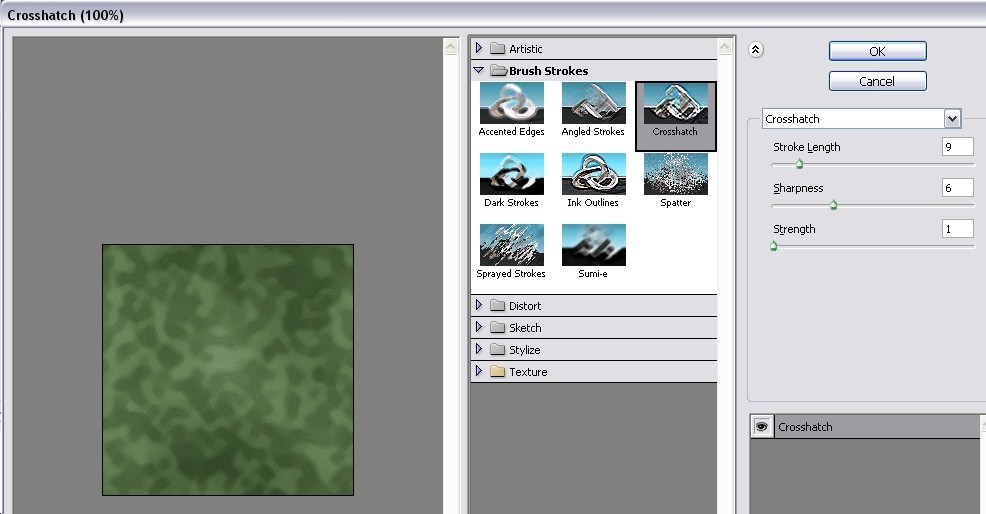
Afterwards, repeat the same procedure ( Filter >> Artistic >> Crosshatch ) with the background layer, however you may want to choose a different sharpness, to maintain the natural clothes effect.
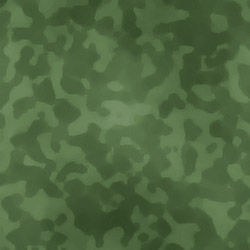
So far your canvas should look like this:
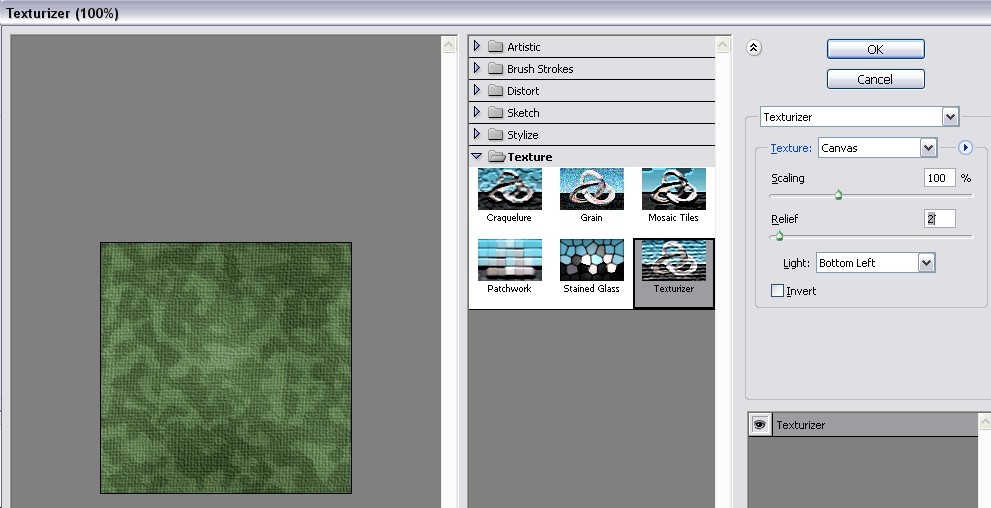
If you don’t want to stop here and want to create a full imitation of clothes canvas, go to Filter >> Texture >> Texturazer and apply these settings for the clothes canvas effect.
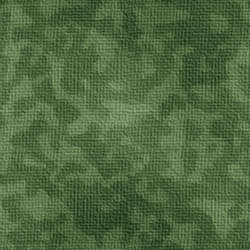
That is it, now you are a solder!
Pages: 1 2
