Overlay the color with #e51010
For Gradient settings use #a0a0a0 to #FFFFFF.
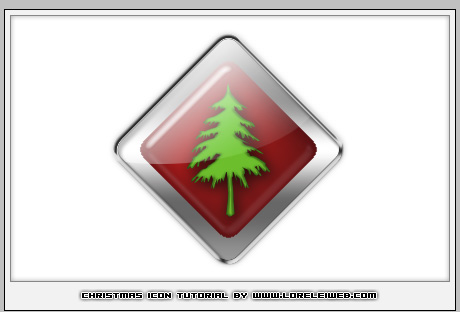
So, this is the result so far:

Now time for icon’s leitmotif. We are going to use a pine tree, however, you may choose any other shape you want, a snowflake, santa’s hat… whatever! It’s totally up to you as we only show general idea and want to give you a direction.
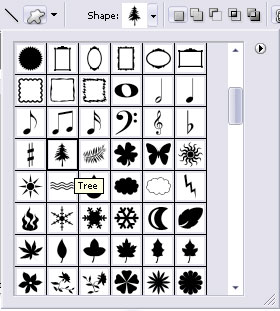
Draw a tree holding the Ctrl button to avoid it getting distorted.
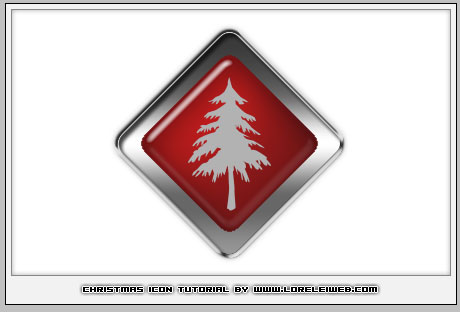
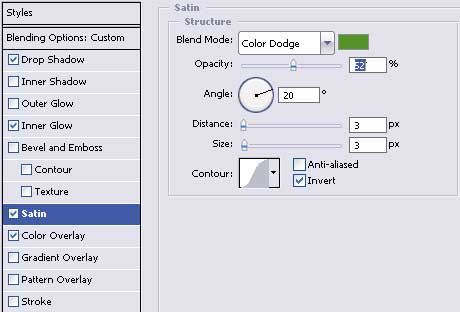
Select the tree layer, and apply the follow settings for the style.
For color overlay, use #108501 and for Satin, use #02950c
This is what you should get…
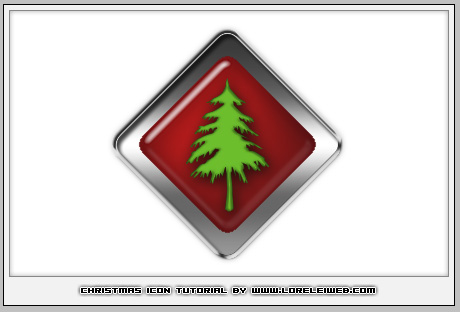
To make the icon look glossy and arrange it as one piece, load a selection for gloss. There are plenty of techniques, what we did was just holding Ctrl on the biggest later, and loading a full selection, then using the Elliptical Marquee Tool and “Intersect with selection” option, cut the selection where you want it to stay on top. There are really quite a few options, if you have difficulties with this step, please ask.
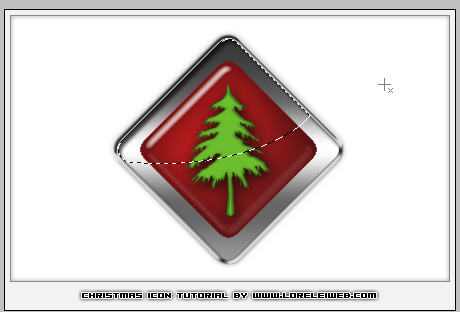
Make a new layer. Using #FFFFFF as your foreground color and transparent (none) as the background, draw a line from about 20px above the square and up until 10 px after the edge of the selection.
You should get a gloss that looks like this. If it looks too white or not visible enough, just undo and try again, making sure you work on a NEW layer.
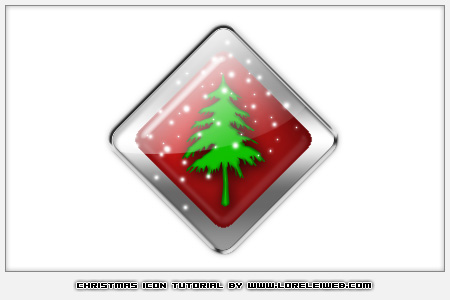
For the final touch, we are going to add some snow. Make a new layer, and using a brush tool with soft edge, 2px, 5px, and 7px, chaotically apply few dots, preferably spread more at the top and less at the bottom to create the effect of falling snow.
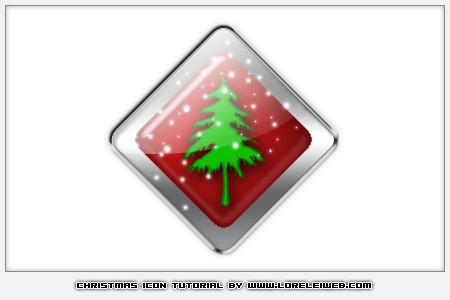
To add even more charm to your snow, while the dots layer is selected, go to Layer >> Layer styles >> Outer Glow and using the white colour, 4px size glow, add a little glowing effect to your snow. And the result? This!
Want the PSD? Download here free, no registration required.
Pages: 1 2







I don’t know who u r. But I thanks a lot. Pls send me e-mail if u posts new blogs.