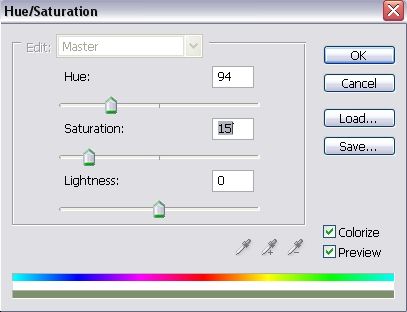
When you are done and your texture now has a lot more contrast, like the real granite stone has, press Ctrl + U, to go to Hue / Saturation window. Reduce the Saturation and move the “Hue” arrow to 94 (green hues). This is very much optional, you may as well choose a different hue, such as blue or reddish, but bare in mind that it has to be a “natural” stone colour. Moreover, if you will not reduce the saturation, your image will be too bright and will not look natural, let alone will hurt the eyes.
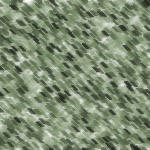
So far your result will look like this:

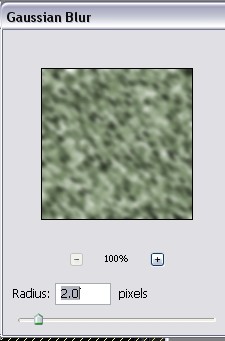
Still not 100% natural stone look, so It’s duplicate the layer (Layer >> Duplicate Layer…) and go to Filter >> Blur >> Gaussian Blur, with radius of 2 pixels.
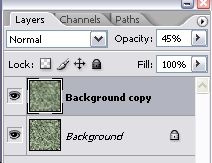
Remember that the blur was applied to the upper layer. Click the Layers tab in your small Layers / Channels / Paths window, and set the blurred layer opacity to 45%.
That is it. Now your texture has a very gently blurred yet strong effect. Enjoy!
Pages: 1 2


