If you want to be a professional photographer you must know how to use the settings that are on your camera and how to use them. As you learn more about photography you will learn that setting you camera at f/4 aperture priority and a shutter speed of 1/250 sec. will give you the same amount of exposure as an f/2.8 with 1/500 shutter speed and the f/4 setting with 1/125 sec.
As you become more adapt at photography you will learn more about shutter speeds you need. The shutter speed is important because it is what decides how you capture each second of a photo. The light that comes into the camera works along with the shutter speed and this is why you will realize that aperture is involved when you determine the speed you want when capturing a photo. You can capture every second of motion without missing a thing. If you want to capture the winning moment of a football game, you can off course the aperture and set shutter speed to catch every moment of the play.
It is better to know this before you try to become serious with photography and your camera. You will want to learn the shutter speed, aperture values and settings of your camera. Practice makes perfect and asking other skilled photographers does not hurt, they have the know how to give you great ideas so you can start right away.

Photographers have been using the same settings as your DSLR camera for many years; the difference is if you know how to properly use them to change your photos. If you’re used to using the old aim and shoot cameras of the past and you are new to the DSLR camera, don’t just use the automatic features. The only way to learn and grow in your photography is to use the manual settings and learn how they can improve your photos.
The shutter setting is one of the settings on your new camera. You can have fun playing with the settings and see how they change your photos. You can easily capture movement by using a slow shutter speed and to add effect to your photo.
You can adjust just the shutter speed or both the aperture and shutter speed on your camera but remember to balance the exposure so change the aperture and shutter speed in a corresponding manner. If you are using a slow shutter speed it is always best to use a tripod.
Here are a few ideas to capture motion effects; if you slow the shutter speed you will find exciting and fun results while capturing the motion of your subject.
You should learn all about shutter speeds because this controls the speed that the light is exposed to the digital sensor. The shutter speed is something you should become familiar with if you want to take better photographs.
For you to get a better understanding, the shutter speed controls the exposure of light. Just imagine it as a door that is opening and closing; it is either fast or slow. This is what determines how much might is exposed to the sensor. The shutter speed can give you a darker or a lighter picture; it can also determine the clarity of the subject’s movement. A fast shutter speed can give the effect of an object being suspended in air. A shutter speed of about 1/2000 will accomplish this.
This shutter speed of 1/2000 is so fast you can not even describe the speed. This means the shutter opens and closes at a rate of 2000th of a second. This shutter speed is used quite often in sports photography; fast movements are captured ideally when you use a fast shutter speed.
For photos of children it is usually better to use a fast shutter speed because they are always so active. You can never find a greater challenge than trying to capture a moment in the life of a child, you have to be quick to the draw and you really need to keep your eye out for those great shots, you can lose a moment forever if you’re not fast on your feet and quick to the draw.
If you manipulate your shutter speeds you can get a blurred image so using your hand at looking for an artistic touch is a good choice for you in the instance of children. Say for instance you choose a shutter speed of 1/250 or less, you can get a great “smudge effect” that will give your picture a real artistic flair, it will not look like an accidental blur, it will look like an intentional effect and that can change the whole feel of your photo. Adjusting the shutter and toying with the different speeds can help you learn to manipulate the photos and give them a more professional style.
When understanding aperture it is described and the F stop. With a high number, the smaller the opening of the lens, and with the smaller opening, there is less light on the image. A good example of this is trying to catch the color of the sunset at dusk. You can manually set the F stop and change it to an F4 where as the camera may have a default setting of F8, the setting of F8 may leave your photo looking too dark, but when you change the F stop to F4 you allow a little more light in so you capture the lighting as you wanted to. So just remember a small F stop number lets in more light, a small F stop will let in more light.
The best way to learn how to adjust your camera manually is to play with the settings and look at all of the different effects you get. This is a great way to learn about your camera settings and finding the right blend in effects that you’re looking for, don’t be afraid, and it will not break, just play with the controls and see what you can come up with.
What are the different cameras you can choose to have control over the aperture and shutter speed?
The digital SLR’s are the best for controlling the light that gets to the sensor. With the typical aim and shoot cameras it’s harder because you can not manipulate the controls independently. With a pro-summer camera there is a small more amount of control but you can still not adjust the shutter speed independently. Out of the three the preferred choice is the SLR.
If you do have a pro-sumer there is an e/v control or exposure value control this control is actually the combo of the shutter speed and aperture. You can still play around with this and see the different effects you can get in your photos and it is at least one step above the old aim and shoot cameras and there is no reason to dump the camera and move on, this is a good camera for you to use to learn different settings until it is time for the next upgrade. This is why the SLRD is the best choice in a digital camera; you can use the control of the shutter speed independently without worrying about the aperture adjustment.
So to sum it all up, you can take great artistic pictures and get a feel of what works best, this along with the technical knowledge you have of photography you will be ready to go! Try the shutter speeds and then move on to the aperture, when you’re feeling confident, try them both. It is your camera and only you know how good you want to be, so the more practice you get in, the better your photos will look and if your trying to become a better photographer there is no better time than the present.
Slow shutter speeds
- The first subject we will discuss is a waterfall. To get the silky feel of the water in a photo, set your shutter speed to a second or a second and a half, each waterfall will talk to you so you should try various speeds to see the different effects you can catch. You can give a misty feel that is soft and dreamy or a harder feel with the same waterfall so don’t be afraid to experiment.

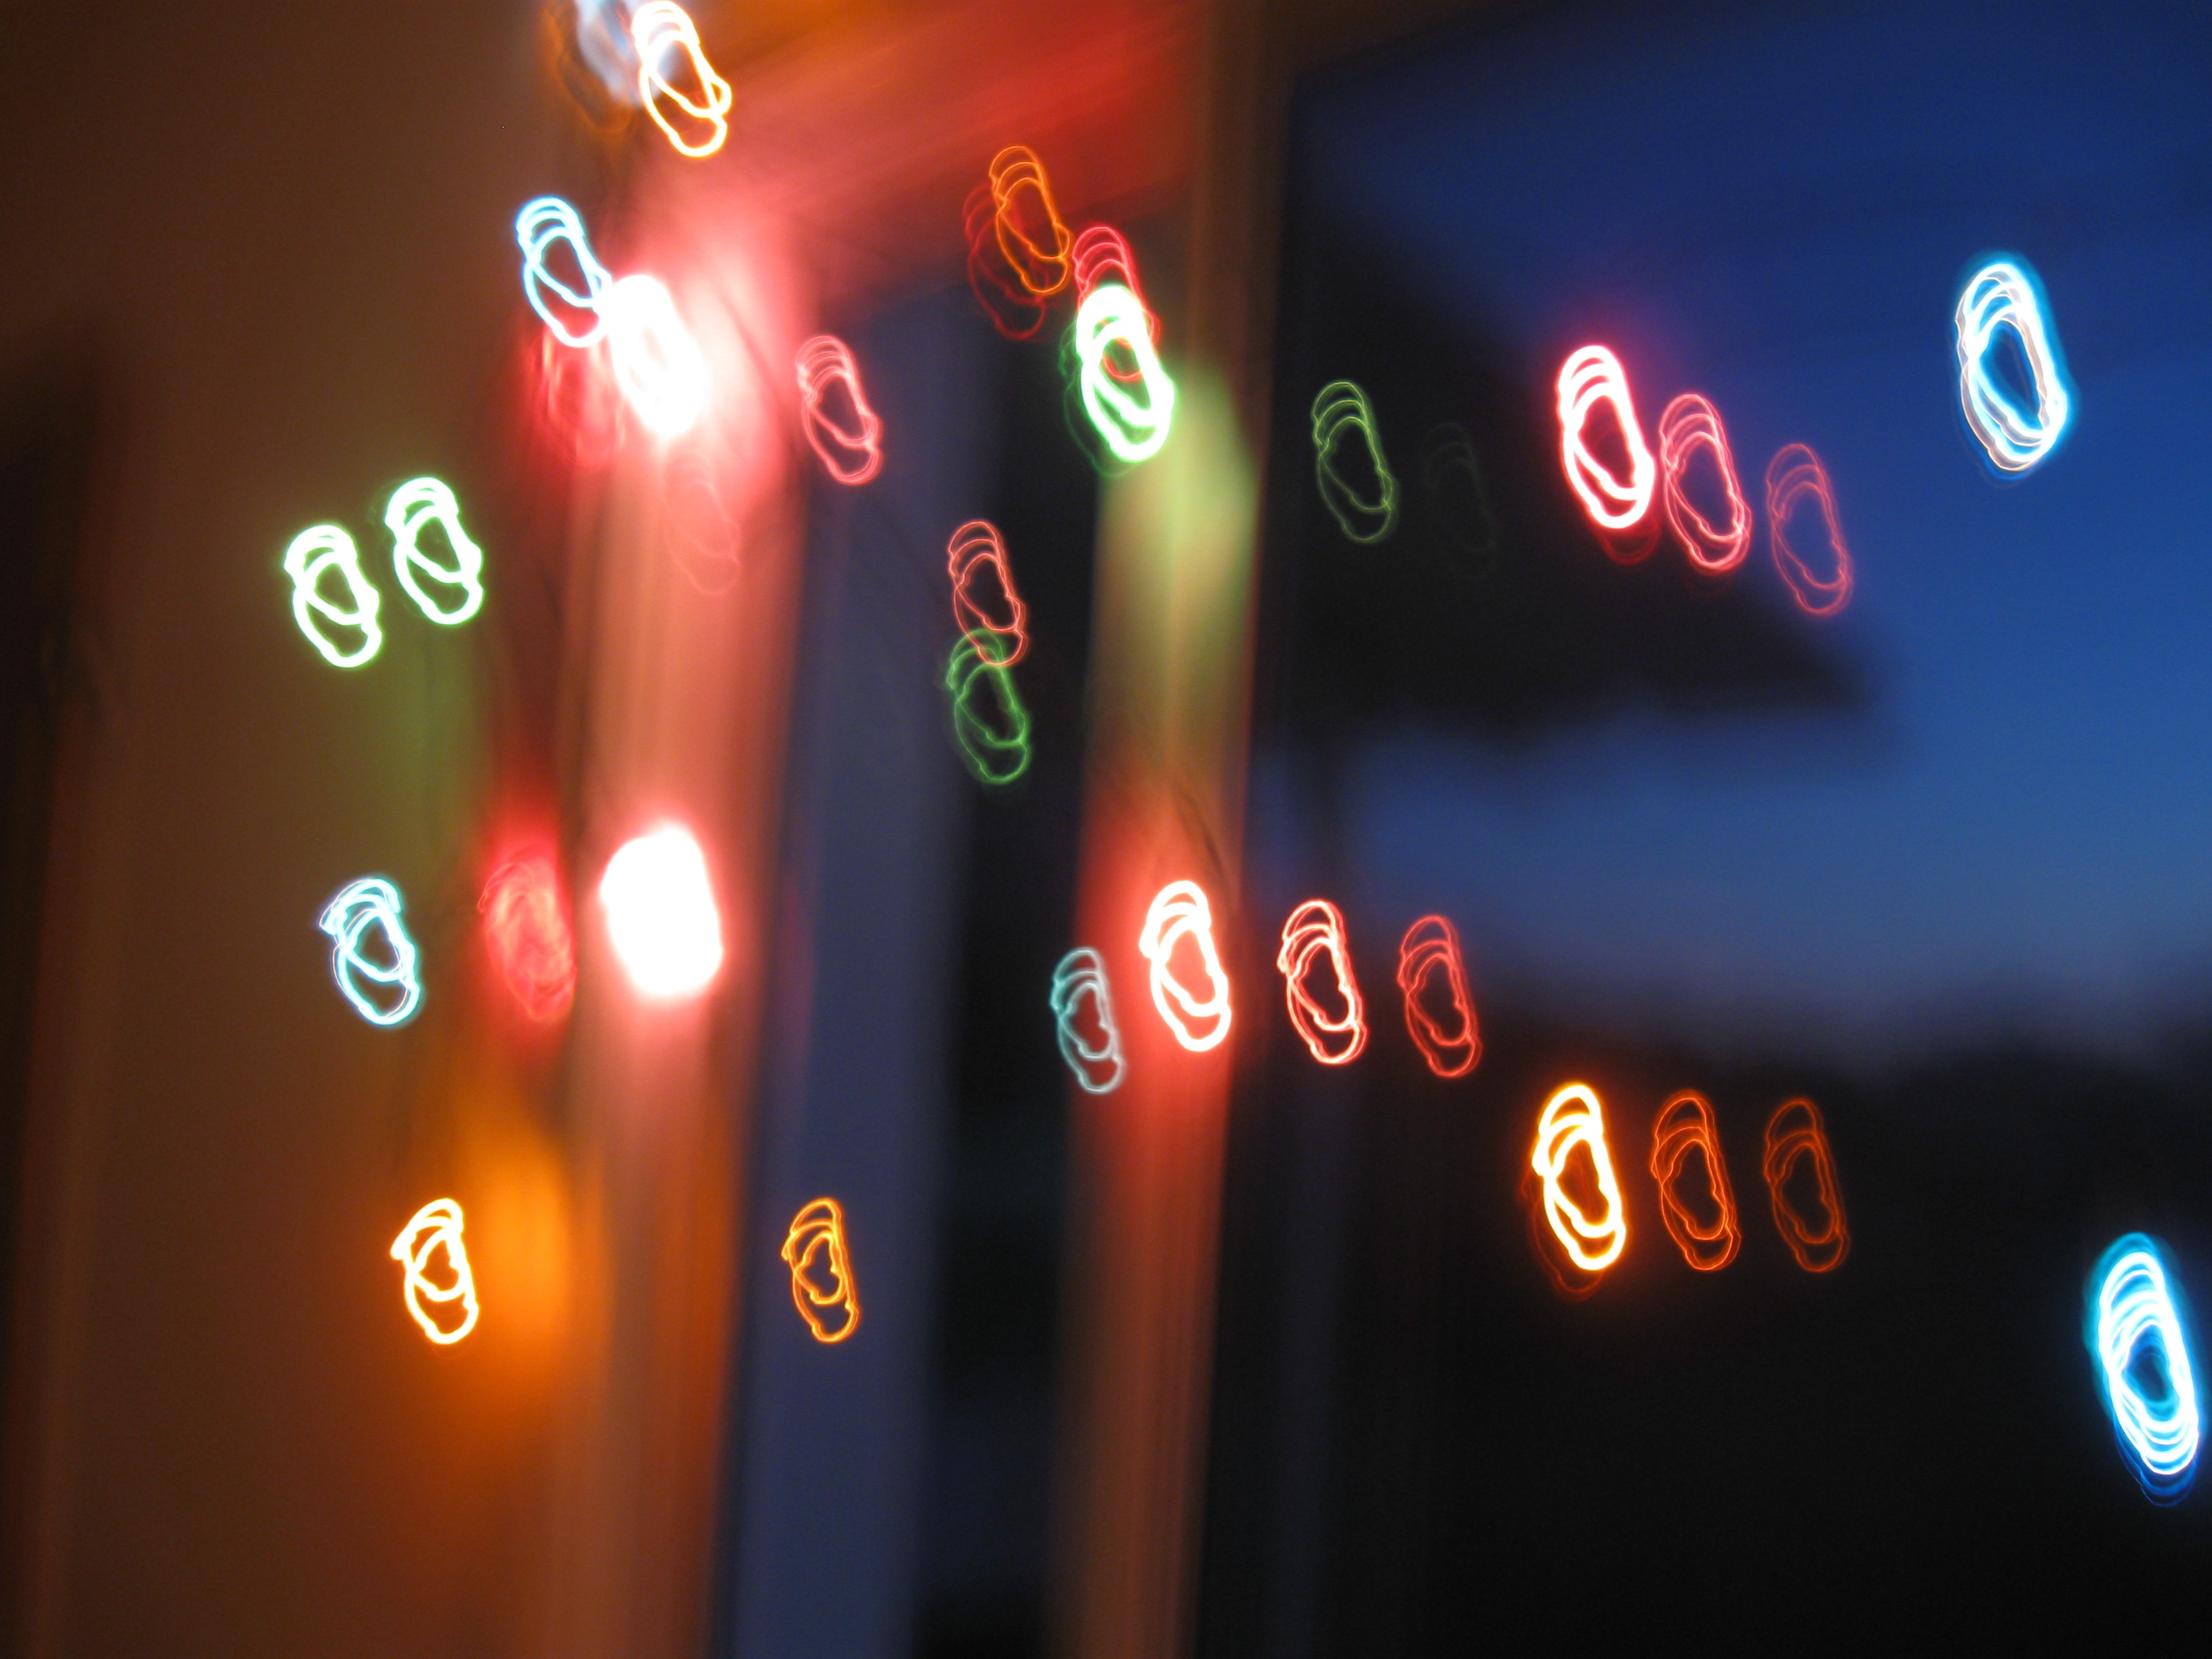
This is what happens when you try to take a photo of them with a very slow shutter while waving your camera. Photo by Aplysia_06 - Now we can move on to the photo of traffic at night. With the shutter speed of one, two, ten or even longer speeds you will catch streams of light from the car lights and the more traffic there is you will get some great results, play with the speeds and check out what kind of amazing photos you can catch of the traffic at night. There are so many images that come to mind and we have all seen them in commercials on television, if you were ever wondering how it was done, well the secret is now exposed.

Exposure: 20, Aperture: f/20.0, ISO Speed: 200. Photo by Zach Heller Photography - Lightning is the next subject some people think you need superhuman abilities to take photos of lightning but it is just not true, if you leave the shutter setting at B it will allow you to keep the shutter open for any amount of time you choose. When there is a flash of lightning you take the picture, you can catch the lighting and even several flashes of lightning just by keeping the shutter open for a longer period of time. This is a great way to learn about your shutter speed so the next time there is a lightning storm, don’t hide indoors, run out on the porch and try to capture the moment.
- Waves are a great subject to test your shutter speeds on. Sometimes a slow shutter speed of the waves rolling in can give you a great effect and this is a good place to train your eye and play with the speeds. The capture of fast moving waves or the way the waves crash around rocks are a great time to manipulate the shutter speeds. There is a misty and almost magical feeling when you capture the movement of the waves just right and this can not be caught on a fast shutter speed.

Exposure: 1, Aperture: f/36.0, Focal Length: 50 mm, ISO Speed: 100, Photo by by spjwebster - The last subject we will talk about here is people in crowds. This is a terrific place to play with your shutter speeds; many people moving in all different directions can give an awesome effect of motion in your photographs. You can choose all different shutter speeds and check out the different effects you get, the results may actually surprise you and the photo will take on a whole new life with each different shutter speed.
For an awesome picture have a friend stand in a crowded marketplace and set you shutter speed to slow, it will give the effect of him or her being frozen in time, this is an awesome effect. There are so many choices when it comes to taking pictures in crowds so this is another good time to learn about your shutter speeds. There are a few of the subjects you can try as your learning how to adjust your shutter speeds the results are guaranteed to amaze you and you will quickly learn the effects and the settings of your camera, this is the best way to learn because practice makes perfect.


One comment on “All You Need to Know About Shutter Speed Priority for DSLR Cameras”