Photos and article written by our guest poster Prajneet Singh.
The amount of detail that can be found in nature, no human creation can ever match. The beauty, the freshness, the colors of nature, it is all just so amazing; no wonder so many people take up nature photography as a hobby or maybe even a profession.
But with the kind of flora and fauna out there, you are left with a wide variety of subjects to choose from: beautiful landscapes and seascapes, to little flowers and insects, to big cats, to creatures of the air – birds. Bird watching has always been a popular hobby with nature lovers, and with the advent of digital photography, bird photography has turned into a sort of extension of birding. But the fact remains that like other wildlife, birds are a very difficult subject to photograph because: they are hard to spot, harder to get close to, and you have virtually no control over them. In this tutorial I will provide some basic tips for people getting into bird photography and hopefully try and make their birding experience more enjoyable.
Know your subject; Observe; Plan
I personally prefer to emphasize the bird aspect before the photography one because my experience tells me that the better you know your subject, the better your pictures, even if your equipment isn’t as fancy. Whatever birds you wish to shoot, spend some time reading about them, and studying them in the field if possible. This gives you a fairly good idea of where you can find them, how they react to human presence, and the like. Also, if you have a nature park or a zoo, go there for a walk. That will refresh your mind as well as give you an opportunity to know the birds around you. This done, you should plan your shoot according to the time of the day (and the year) when you’ll get a chance to capture the majestic creatures in all their glory.
The Equipment
Lets face it, getting within arm’s reach of ANY bird is close to impossible unless the bird belongs to a very friendly species or is a pet. So to get good pictures of birds, you need a lens that offers you a good zoom range. A 300mm or better would be ideal, but try and get at least a 200mm lens. Also, if you wish to capture birds in flight/taking off/landing, a fast lens with a wide aperture (f/4 or lower) would really help. A tripod is very essential here because you’ll be zooming in towards your subject which highly amplifies camera shake. If you have a camera/lens with Image Stabilization, that’s even better.
Approach Your Subject
Once you have the equipment in hand, and the subject in sight, you need to get close. As a rule of thumb, for any kind of photography, try and get as close to your subject as possible. Problem: You move towards a bird, it flies away. Solution: Be very slow, very cautious, and very patient. If you see the slightest hint of the bird moving away because of your presence, stop right there and let it get used to you. Make absolutely no sudden movements when near a bird. There have been times when after a lot of effort, I got pretty close to a bird and the bird flew off, not because of my being so close but because of the sudden movement of my camera strap falling down from my arm! So make sure that nothing is hanging loose. If the bird still seems uncomfortable, leave. Come back later. Always remember: the bird is more important than the photograph. The same goes for its habitat as well. Disturbing the creature or its environment to take a picture defeats the whole purpose of bird photography. The challenge lies in capturing the bird in its natural environment, and its own character.
Pages: 1 2


I hear you about approaching the subject slowly etc. Still, you need tons of patience and perseverance. Not to mention skill. It amazes me how you professional photographers can trigger the camera at precisely the moment those birds first flap their wings for example.
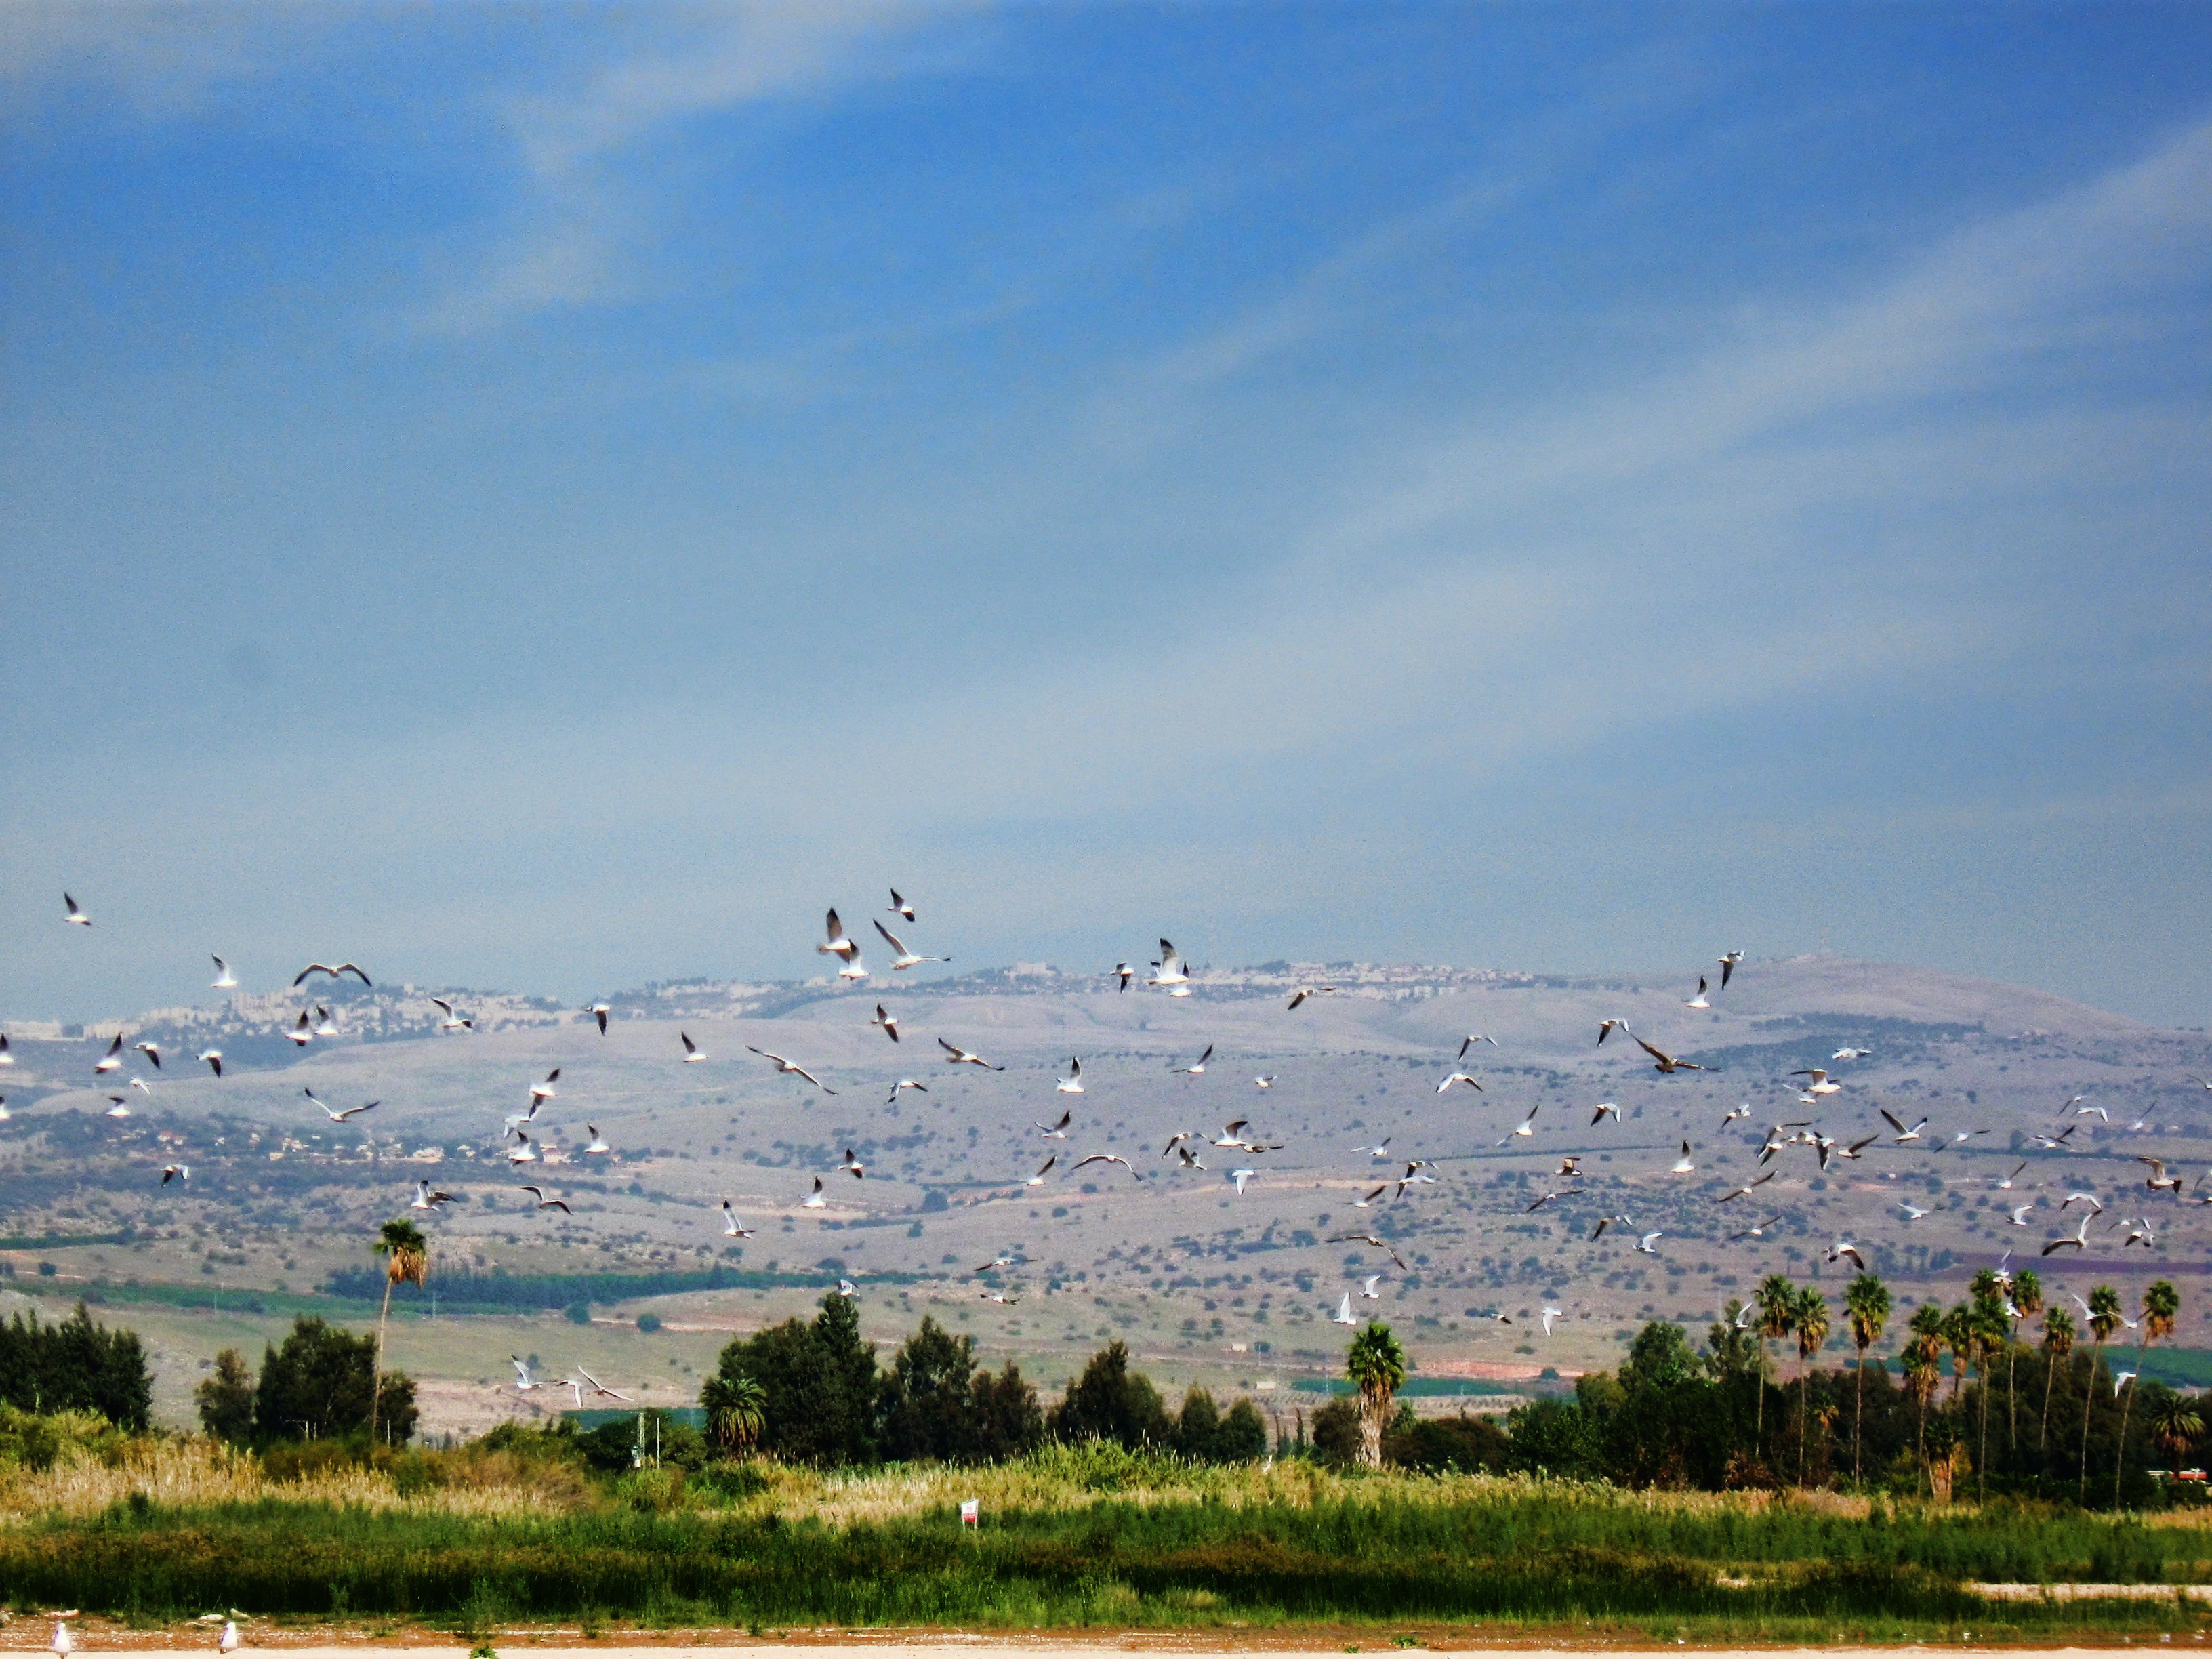
Here are some great shots of these brilliant creatures.
And oh, I like your emphasis about the birds being more important than the photograph.
Hey Lanny
I totally agree with you that one needs tons of patience and perseverance, but in the end if you get a decent picture, it is well worth it! If you’re a nature lover like me, just getting to see the creature so close is in itself a wonderful thing.
As for the right moment, all that comes with practice. When you’ve been with the birds a long time, you can sort of predict when they’ll do what. So that makes it easier. The rest as I said, is all practice. And yea, technology helps too. By this I mean when you’re trying to capture a bird in flight, if you shoot in burst mode, you’re likely to get at least some decent shots.
Cheers
To capture that moment as said by Prajneet you need bags of patience and to be able to predict the birds actions is a must.