This time we will be making this banner which will suit ideally for any special Xmas promotion, deal or shopping offer..

So, let’s get started. Create a canvas 468*60 pixels, assuming you want to make a standard size banner.
Choose the gradient tool, and fill the selection with mild gradient between #cdcdcd and #ffffff

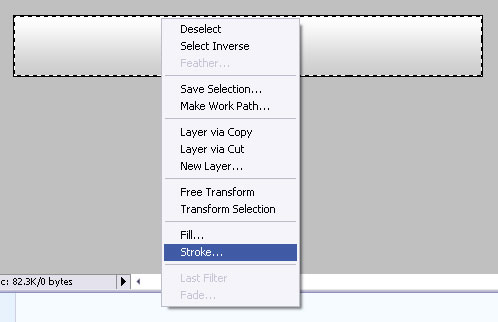
Make sure the white will end up on top of the banner, so that you will get this gradient background to start with. Next, make a new layer, and select the entire canvas. Right mouse click to get a quick menu and choose “stroke”.

Draw a 1px line. We used #b1b1b1 but this may depend on your colours scheme.
Select an elliptical shape and draw a circle when the canvas is de-sized, so that you will only get a curved third of the banner segmented out.
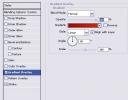
While the ellipse you just drew is selected, go to Layer >> Layer Styles and set the following settings.
The shades of red are not particularly important, as it would depend on your personal preference. We used #ca0701 for the overlay in our example.
Next, get some Xmas clip art.

We pulled the candy PNG icon, which you can download free at IconDrawer. (DON’T use the image above, it’s just an example, download the PNG as it has no background). Drag the icon (biggest you can get) unto your canvas, and place it exactly over the line, so that the candy and the ribbon will cover the separation line.

While the icon is selected, make sure this layer is placed under light gray frame that surrounds the banner. Go to layer >> layer styles >> options, and apply a light grey shadow, to give the icon more depth.
Pages: 1 2


