

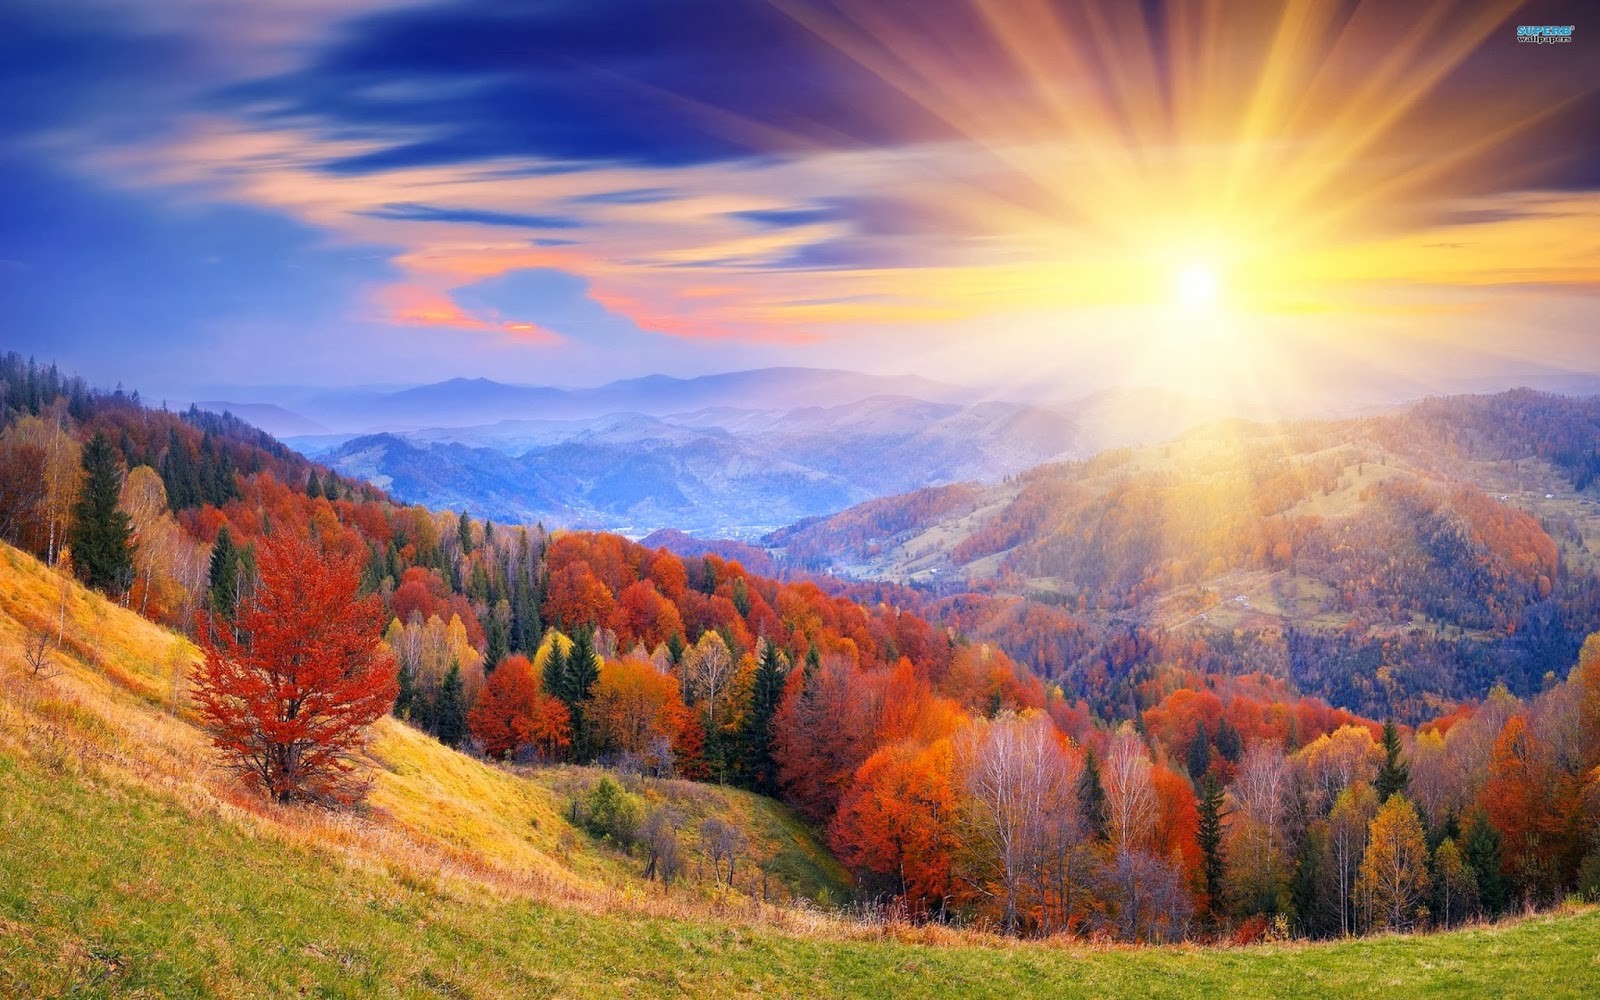
Most people look at a golden sky and reach for their phone. You get a decent shot. You post it. You forget it by Tuesday.
The photographers who come back with images that stop people mid-scroll are doing something different — and almost none of it is about having better gear.
This guide covers everything you need to start shooting sunrise and sunset seriously: timing, settings, composition, location work, and the mistakes that quietly ruin otherwise beautiful shots.
What Actually Makes Golden Hour Light Special
The sun near the horizon travels through more atmosphere than at midday. That extra distance scatters the blue and violet wavelengths, leaving behind the warm reds, oranges, and pinks most photographers live for. The light also comes in at a low angle, which means longer shadows, more texture, and a soft directional quality that’s almost impossible to replicate artificially.
Golden hour isn’t a fixed 60-minute window. In summer at high latitudes it can stretch for two hours. Near the equator it collapses to 20 minutes. A planning app is not optional — it’s the most useful tool in your bag.
Blue hour is the period just before sunrise and just after sunset, when the sky goes deep cobalt and the light is soft, even, and almost shadowless. Many photographers prefer it to golden hour. The catch is that it lasts 15–30 minutes and moves fast.
Before You Go: Planning and Scouting
Showing up at a random location five minutes before sunset and hoping for the best is a plan that rarely works twice.
Know Your Times
PhotoPills and The Photographer’s Ephemeris both show golden hour windows, blue hour, the exact direction of sunrise and sunset for any date and location, and moon data. Free alternatives like Sunrise Sunset cover the basics if you don’t want to pay.
Check the time a day in advance. Set two alarms if you’re shooting sunrise — one to wake up, one to leave. Missing the window by 10 minutes is brutal.
Scout the Location First
Don’t scout and shoot on the same day if you can avoid it. Walk the location in flat midday light when there’s no pressure. Find:
- Where the sun will actually rise or set in relation to your scene
- Foreground elements (rocks, water, flowers, leading lines) that give the image depth
- Where you’ll physically stand — and whether you can get there safely in low light
- Whether there are power lines, trash bins, or other things you’ll want to avoid
Google Street View covers a surprising amount of terrain. Instagram geotags for a location show you what other photographers have found. Neither replaces being there, but both save wasted trips.
Check the Forecast
Clear skies are actually mediocre for sunset photography. What you want is cloud cover — specifically, broken cloud cover in the 30–60% range. Clouds catch and reflect light, turning the whole sky orange and pink. A completely overcast sky blocks everything. The magic happens in the middle.
Apps like Clear Outside show cloud layer data in much more detail than standard weather apps. Worth bookmarking.
Gear You Actually Need
You don’t need expensive equipment to start. You do need to understand what your gear can and can’t do.
Camera and Lens
Any interchangeable-lens camera works. A kit 18–55mm lens covers most situations. A wider lens (10–18mm on crop sensor, 16–24mm on full frame) gives you more foreground-to-sky ratio, which suits sweeping landscape shots. A short telephoto (70–200mm) compresses the scene and makes the sun appear larger in the frame.
If you’re shooting on a phone, get a clip-on wide lens and shoot in RAW if your app supports it. The built-in processing on phones blows out sunsets aggressively.
Tripod
Non-negotiable for blue hour and any shot where you want to blend exposures or keep a long shutter speed. It doesn’t have to be expensive — a $50 tripod with a ball head is more useful than no tripod. What you want to avoid is anything that wobbles in light wind. Carbon fiber is light; aluminum is cheaper. Either works.
Filters
ND (Neutral Density) filters block light, letting you use longer shutter speeds in bright conditions — useful for silky water or streaked clouds.
Graduated ND (GND) filters are darker on top and clear on the bottom. They balance the bright sky against a darker foreground without the need to blend multiple exposures in editing.
Polarizing filters reduce glare on water and saturate colors. Only useful when the sun is at roughly 90 degrees to your shooting direction.
Beginners can skip filters entirely and learn to exposure blend in editing. But if you shoot a lot of landscapes, GNDs will save you significant post-processing time.
Camera Settings at Golden Hour
This is where most beginners get stuck. The right settings depend on the scene, but here are reliable starting points.
Shoot RAW
Every camera that shoots RAW — do it. The dynamic range in a RAW file is massively wider than a JPEG. Sunset skies are blown-out in JPEG and recoverable in RAW. There’s no downside other than larger file sizes.
Exposure
Start with:
- ISO 100 (base ISO on most cameras) to minimize noise
- Aperture f/8 — a middle aperture that’s sharp across the frame and minimizes lens aberrations
- Shutter speed — adjust this until the exposure meter reads slightly underexposed (–0.7 to –1 stop)
Why underexpose slightly? Skies blow out easily. It’s much easier to lift shadows in editing than to recover a white, blown-out sky.
As light fades into blue hour, you’ll need to open your aperture (f/4, f/2.8), raise your ISO (400, 800, 1600), and slow your shutter. Watch your shutter speed carefully — anything below 1/60s without a tripod will produce camera shake.
White Balance
Set it manually to around 5500–6500K for warm golden tones, or shoot in RAW and adjust in post. Auto white balance (AWB) tends to neutralize the warmth you actually came there for, cooling the shot to look more “accurate” and less magical. Turn it off.
Focus
Switch to manual focus for final shots. Autofocus can hunt in low light. Set focus to infinity (the ∞ symbol on your lens focus ring), take a test shot, zoom into the image at 100%, and confirm sharpness. Once you’ve nailed it, don’t touch the focus ring.
Metering Mode
Spot metering lets you meter off a specific part of the scene — useful for exposing for the sky without letting the bright sun trick your camera. Matrix/evaluative metering works fine for most situations; just remember to dial in –0.7 to –1 EV exposure compensation.
Composition
Technically perfect but boringly composed photos are the majority of what you see in beginner sunset galleries. The settings are right. The image is forgettable.
Get Foreground Interest
The biggest single upgrade most beginners can make is getting lower and finding something interesting in the foreground. Rocks, tide pools, a field of flowers, a fence line, a reflection in a puddle — anything that draws the eye into the frame and creates layers.
A photo that’s 80% sky and 20% featureless ground is almost always weaker than one that has something happening in front of the sky.
The Rule of Thirds (and When to Break It)
Placing your horizon on the upper or lower third line usually looks better than centering it. If the sky is dramatic, give it two-thirds of the frame. If the foreground is the story, flip it.
The exception: reflections. When a foreground has a near-perfect reflection of the sky, centering the horizon often looks intentional and strong.
Leading Lines
Roads, rivers, jetties, fences, shorelines — lines that lead from the foreground toward the sun are a reliable composition tool for a reason. They’re not lazy; they work because the eye follows them naturally.
Silhouettes
When the light is behind your subject, expose for the sky and let the foreground go black. Trees, people, buildings — anything with a strong and recognizable shape silhouettes well. The key is clean separation: the subject should read clearly against the sky, not merge into a muddy blob.
Shooting the Sequence
Arrive 30–45 minutes before sunrise or sunset. This gives you time to set up, find your composition, and shoot the blue hour before the main event.
The light changes fast. Take frames every 5–10 minutes and compare them. What looked boring at 45 minutes out might be perfect at 15 minutes out — or vice versa.
After the sun drops below the horizon, don’t pack up. The 10–20 minutes after sunset often produce the richest colors as the remaining light scatters across the upper atmosphere. Many of the best sunset shots are taken after the sun is gone.
Editing Basics
The RAW file from a sunset will look flat and underexposed straight out of camera. That’s normal. Here’s a basic workflow in Lightroom or any equivalent:
- Exposure — Lift overall exposure to taste
- Highlights — Pull down to recover sky detail
- Shadows — Lift to reveal foreground detail without blowing the sky
- Whites/Blacks — Fine-tune the tonal range
- White Balance — Warm it slightly if the AWB cooled it down
- Vibrance — A little goes a long way; saturation is rarely needed
- Graduated filter — Apply a graduated filter across the sky to balance exposure between sky and ground
Avoid over-processing. Pumpkin-orange skies and HDR halos look dramatic for about 30 seconds, then dated. The goal is to recover what the scene actually looked like — which is usually more than enough.
Common Mistakes
Arriving too late. Blue hour starts before the sun appears and ends before it fully rises. The magic is often gone by the time most people are set up.
Shooting only toward the sun. Turn around. When the sky behind you is catching reflected warm light, it can be as beautiful as the sun itself — and usually with better foreground options.
Leaving when the sun hits the horizon. The show continues for 20–30 minutes after sunset. Stay.
Over-saturating in editing. If you’ve ever shared a sunset photo and someone asked what filter you used on a completely unedited shot, that’s a sign the edit is overselling it.
Not using a tripod in blue hour. You’ll end up with 40 slightly blurry photos of a genuinely beautiful scene, none of which are usable.
Chasing “perfect” conditions. Partly cloudy with some haze is often better than a cloudless sky. Don’t wait for ideal — shoot in whatever conditions show up and learn what each does to the light.
Where to Go from Here
Once you’ve got the basics down, a few directions worth exploring:
Exposure blending — shooting two or more frames at different exposures and combining them in editing for better dynamic range than any single shot provides. Luminosity masks make this easier.
Long exposure — shooting at ISO 100 with a 10-stop ND filter, 30-second to 4-minute exposures that turn waves into mist and clouds into streaks. A different mood entirely.
Bracketing — shooting automatic exposure brackets (AEB) in-camera to ensure you always have options when the light is changing too fast to dial in manually.
None of that matters until the fundamentals are solid. Nail the timing, know your settings, get interesting foreground, shoot RAW, stay after the sun goes down.
That’s most of it.
Have a question about a specific location or scenario? Drop it in the comments.

Thanks these are great tips! Especially finding a good forground subject to complement the sunset.
Hey there,
We have been reading the articles on your website https://loreleiwebdesign.com/ and are very impressed with the quality of your information.
We have a team of copywriters who specialize in writing articles on various topics and would like to write an original article for you to use on your website – this article will not be used anywhere else on the Internet.
In exchange all we ask is that we can have one or two links within the body of the article back to one of our sites.
If you are interested in having us write an article for your website please just let me know and we would be more than happy to have one written for you within two weeks.
Kind regards,
Papia
Thanks for writing. I worked a lot of work