Fantasy Art for beginners – the mysterious moonlit night was written by Lorelei and moved over from www.loreleiweb.com for technical reasons.
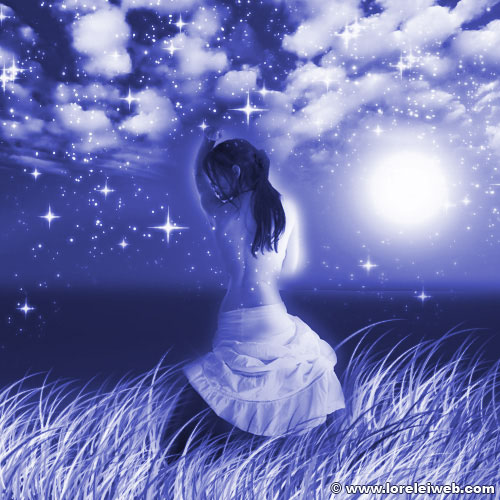
Believe it or not, but from a few ordinary photos and some primitive brushes, we will make this image (see below). OK, despite the rather impressive outcome, this is a very simple tutorial, you won’t need more than a few brushes and a few pictures. Most of it is a matter of technique.
Start by creating a new canvas, 500*500 pixels, and fill it with dark blue colour, we used #060062.
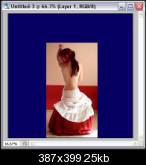
Next, you need a beautiful and preferably mysterious photo of a woman, this is what we started off with:

Copy the girl to your clipboard (Ctrl + C) and paste it (Ctrl + V) unto the blue canvas
Select the “Single Column Marquee tool,” place the selection line on the edges of the picture, Press Ctrl + T to draw a line, and repeat the action from the other side. This is what this action will give you…
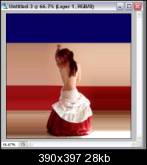
Duplicate the woman’s picture, and set BOTH layers to the “Luminosity” blending option. This will turn both layers blue as we have a blue background.
When the upper (duplicated) layer is selected, apply a Gaussian blur to it.
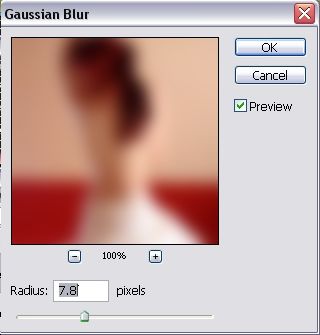
Select the eraser tool with a soft edge, and go over the girl’s silhouette, erasing the blurred layer from over the woman’s body. This is how it will look, but work your way with the eraser over her skirt as well.
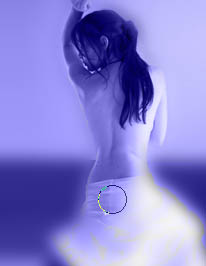
After having finished erasing the blur over her body, this is what it will look like: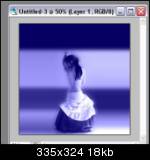
Select the blurred layer, and go to Filter >> Render >> Lightening Effects.
Apply this “omni” light spot over the blurred layer.
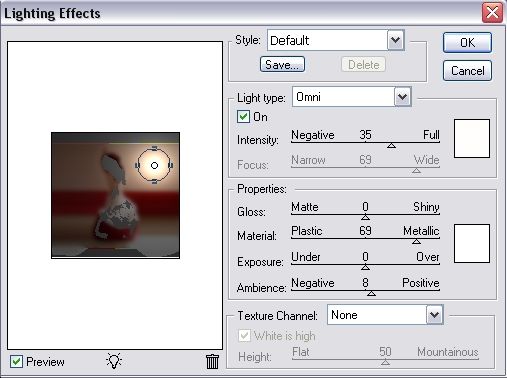
Now you’ve got a nice, wrapped-in-fog moon that creates a very mysterious halo around the girl’s body. That’s because we used (before) the eraser tool with the soft edge, while removing the blurred layer, we were not very accurate and deleted a bit of the area around the body as well. Even if it’s just a few pixels, it is still great.
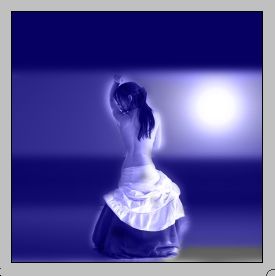
Now we need to add some landscape… Easier of all would be to use some nice clouds photo and not to create clouds from scrap. So take this picture, pulled from MorgueFile.com

Copy it (Ctrl + C) and paste it into your fantasy canvas.
Apply the “Luminosity” blending style.
Using the eraser tool, remove the remains of the clouds from the woman (if any) and the moon.
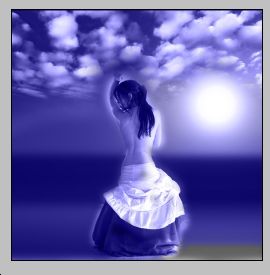
Create a new Layer.
Make sure your primal color is white and your secondary color (in colors palette) is the same blue as the background.
Select the “Dune Grass” blush (comes default in Photoshop CS2) and apply a lot of stamps (or just hold the mouse pressed and go over the bottom of the canvas)
Ideally, it will look like this…
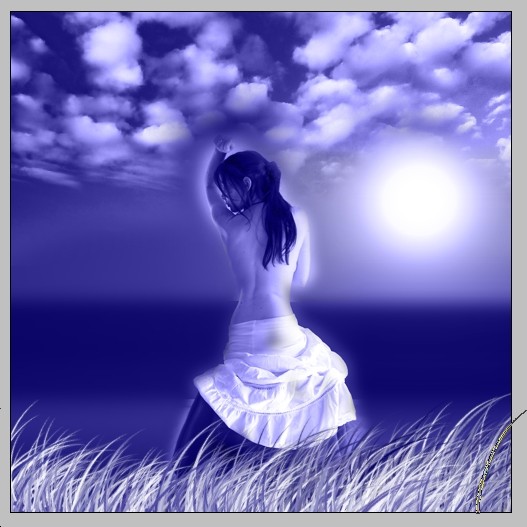
Now you would need starry brushes. We used some free star brushes downloaded from Deviantart.com
You can choose between..
http://www.deviantart.com/deviation/15213768
http://www.deviantart.com/deviation/31601676 or any other…
Once you have installed the star brushes and loaded them into your Photoshop, make a new layer and apply a generous amount of stars over the upper part of your canvas.
Remember to use pure white color for the brushes. If the result is dull, go to Layer >> Layer Styles >> Blending options and add the default yellowish glow.
Go to the layers menu and select the layer with the clouds (remember it has to be in luminosity mode)
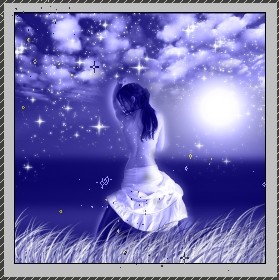
Select the Dune Grass brush again and add a bit grass from both sides of the woman, but make sure you don’t apply it over her. The idea is to create the illusion of her sitting IN the grass and not behind it. Since here the blending mode is different (luminosity), the grass will look more moonlit in front of her.
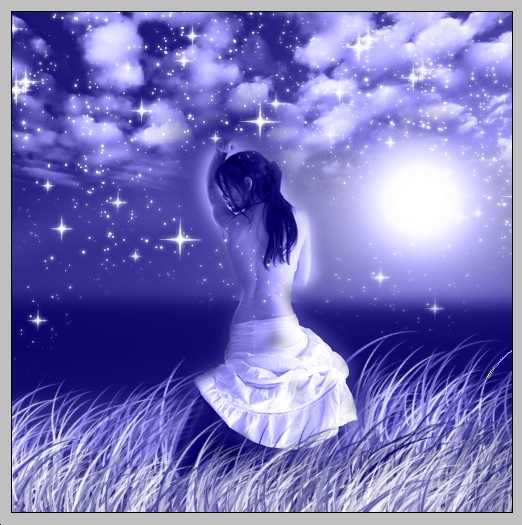
Go again to the layers menu and select the first layer of the woman, which has stayed intact so far…
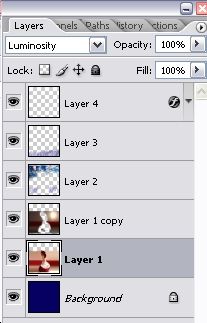
Go to Filter >> Renders >> Lightening effects and apply a light spot, similar to what we did with the blurred layer, only bigger
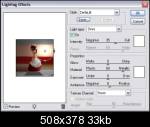
And this is how it looks now, now the girl is slightly lit from one side more than from another:
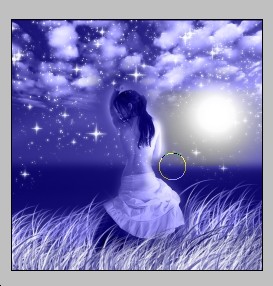
If you are happy with all the layers and see that no correction is needed – good! Now you can flatten the layer by going to Layer >> Flatten Image.
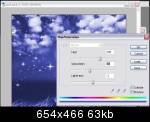
Now that the canvas is fully merged into one picture, go to Image >> Adjustments >> Hue Saturation.
Check the “colorize” box, and set these settings for a flat blue color. If you wish to give your canvas a different hue, it’s up to you to just play with the settings here.
That’s it! We have a beautiful bewitching girl sitting in the sea while the full moon is wrapped in fog and slightly lightening the grass, the sea’s horizon line, and the lady’s side…



really nice tutorial, really like the fantasy art, seems simple to reproduce!
Thank you for doing this tutorial. I appreciate your time for doing these in easy steps, since i’m a beginner. The glow effect has really captured my attention and i’ll be doing this one as soon as I get some free time. I’m sure I will post it. thanks!
hi thanks for the tutorial I sure learned a lot from it..
here’s my attempt
http://i3.photobucket.com/albums/y52…lightgirl2.jpg
I am still trying to learn photoshop I only started using it last week so it might not be as good as the tutorial..
Hi everyone, I am new here and very new to photoshop. Only been using it for about a week. I did two pictures. The one you have here and one for my husband. I love this tutorial although I couldn’t get the lighting effect on the wolves, here are my pictures.
Kristy
http://i14.photobucket.com/albums/a340/kristyandshaun/Wolves.jpg
This one I had some troubles with, not sure what happened but will definately try again.
hi Kmrogers
nice one
i like the wolves
for the girl picture
the lines between the 2 pictures are visible..
if you go to the right layer, you can erase those..
but never the less, nicely done.. im a new photoshop user as well and im loving it
Thanks, Yeah I think I am addicted lol.
I see the lines, I will fix that. Also, the bottom right hand corner is in black and white. I can’t figure out why it keeps turning out that color.
Kristy
Kmrogers, fantastic result! the one with the wolves is stunning!
in my opinion, in both images u skipped the part where, BEFORE colorizing teh image u have to flatten the image… did u? that is the only explanation why some parts of your image are grey (in my image some parts were grey too, therefore i had to flatten and colorize).
about the lines between the images – like providence said, take an eraser tool with soft round, preferably not too small, and go over the sharp edges to get rid of the dodgy parts.
btw, to everyone’s attention – you can use the girl’s picture, its available in HUGE resolution at liam’s stock – http://liam-stock.deviantart.com/gallery/
u can also pic other figures, his photos are all fabulous, i used his red curtain one – http://www.deviantart.com/deviation/39059915/ for creating “moon eclipse”
http://tn3-2.deviantart.com/fs12/300W/i/2006/265/e/6/Moon_Eclipse_by_Loreleike.jpg
i love your results, for 1 week with photoshop its absolutely amazing!!
Lorelei 1 question though.
Before I used a different picture with a white background, and when i put Luminosity and then guassian blur the picture became a bit black and not blue. What i did to get it working was copy the background you used in your tutorial and resized that and that worked.
providence, u dont have to worry about the image been in some strange hue, it won’t be perfectly blue unless u fatten it and colorize, which is what we do in the end.
we used dark blue background, and when we applied Luminosity – it just got the same hue as the layer below, which in this case was blue. but again, it really doesnt matter, the picture can be even red all the way until the end, when u paint it to blue or any other colour of ur choice, so it shouldnt be a problem…
ahh thanks for that, actually i also missed the flatten image instructions, i manually deleted the lines by using the eraser tool hehe
thanks again!
Thanks Lorelei, I think I did flatten the image with the girl. I am going to start over though. I will post it as soon as I am done.
Kristy
i’d really really like to do this, but i can’t, cause i dunno where 2 find that stupid “Single Column Marquee Tool”…. couldn’t you pls explain where 2 find that one? the tut is really nice and i’d wish 2 be able 2 make it myself…
This tut was the best ever so I tried to do it, here is my attempt (excuse the line – need to blend that more) :pardon:
http://img108.imageshack.us/img108/6816/mysteriousmoonlitnightgt5.jpg
Lorelei how did you get your grass and stars to looks so great? I tried really hard and did not even come close. :aggressive:
this is a very nice tutorial. but why can’t i copy and paste the picture?
thank for showing how to do this. It took me forever and alot of fustration, to finally get it, but it was worth it. Here’s what i made with your guidelines.
http://i131.photobucket.com/albums/p285/mystika_d1/starnight.jpg
This is a great tutorial, but for some reason I can’t get the lighting effect to work. It doesn’t show up on my layer. It tries to put it behind it and I am on the blurred layer. Any suggestions???
Hey all.
I am reatively new to working with photoshop besides just screwing around and I tried this out. I thought I would post it up for you all to see and give me advice on.
http://killingisart.srclan.net/ladynightfinal.jpg
Hi,
I’m a newbie of photoshop and i hav some noob question. Can any1 here teach me?
wad tool u use 2 draw the grass and stars?i downlaoded the star file but how to upload it?
Reply me pls..Thx
Brushes, then click the little button on the right that is a circle shape with a sort of “play” button image, go down to load brushes and find the brushes you downloaded.
Ok this is a bit strange. I am trying to accomplish this tutorial, however, When I add a layer or and attept to perform things like render lighting I am unable to perform such tasks. They are grayed out on the menu bar.
Can someone tell me what settings I would need to change which would make these other options available.
I am using CS2 a bit different from PS 5.5 which is what I upgraded from.
Any help would be appreciated.
Thanks,
Vick
I’m also getting the problem where the lighting effects are grayed out at the bar. Only half of them work while the other half is grayed out
like Different Clouds, lighting effects and Clouds are grayed out
while
Fibers and Lens Flare are working
Anyone who could help?
i am so frustrated! okay i got to the step where you erase the blur over the girl and it kept putting the background color over her, so it took me forever but i finally hit “erase to history” and it worked fine. so i do that, copy and paste the clouds, luminosity that, now i am stuck again where you use to eraser tool to erase the clouds from the girl and moon. the “erase to history button” which i had used before is gray and unclickable so now it is doing the whole background on the image thing again. how can i make it transparent? i am a photoshop n00b but i really want to learn.
thanks
Hi everyone,
Sorry I couldn’t reply I was out of the country.
Ok thank you to all who have trued to help with this problem. I may not have stated this clearly in my first post but I am unable to apply a Filter>Render>Lighting Efect while using the 16 bit color mode. It is only available using 8 Bit. Is there a fix for this?
I don’t know how to attach file here so I can’t show a screen shot of what I see.
Thanks for all your efforts
Vick
this was an awesome tutorial, as I am new to this (very new) I had somewhat of a success, I just couldnt figure out how to get rid of the lines when I combined the two photos, I tried the eraser with different ranges and they all still came out wierd. I tried smudge tool and all but, overall very good and it is what i needed to get me going in the right direction. I wasnt even thinking of joining the forum since I got this site off of good-tutorials, but I just had to give you guys a big thank you. Now That I see your site and see how you have detailed explanations for us true newbies I think I will stick around and learn and hopefully eventually help.
Hi this is a great tutorial, I have just completed it, and I am really pleased with the result, I am sure my granddaughter will be too when she sees the result
This is the second Tutorial I have done of yours and i reccommend them all the time
Thank you
Susan
Excellent tutorial 😀
Voici mon résultat (je début dixième mini créa seulement, excusez mon inexpérience).
http://img39.imageshack.us/i/craf.jpg/
I’m so annoyed that I can’t get this to work! I am not able to erase any of the blur. What am I doing wrong???!!!
Nice Tutorial…jakalloh..
I think this is a wonderful tutorial…but i can not understand even i try and try…why “newbies” is included in the title…i mean if this is for newbies..then Why newbies find many dificulties in doing something so “easy”…becoming so difficult..for them???
=O
This is great but can some one help on how to get this brushes esply. dune brush in photoshop cs3? please
Looking also other fantasy art