This tutorial was written by Martijn Breeuwer especially for Lorelei Web
In this tutorials i will show you how to create those little patterns to spice up your graphics or web designs. Patterns are not difficult to create, but can have great effect on the “sex appeal” of your designs.
I will show you the way to create some popular patterns and a anti rip pattern. I will also show you some examples of alternative patterns.
Diagonal Scanlines
We will start with a very popular pattern. The diagonal scanlines.
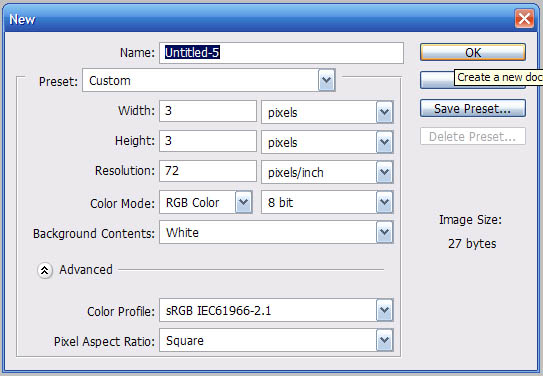
Open a new document in photoshop and make it 3 by 3 pixels.
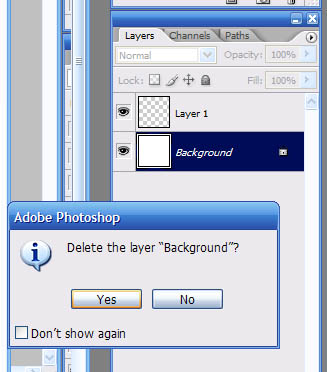
Create a new layer and delete the “Background” layer so that the image will become transparent.
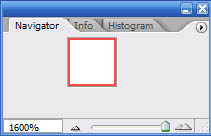
Zoom in till 1600% by pressing CTRL + a couple of times.
Grab the pencil tool and set it to 1px size Mode: Normal and Opacity 100%

Press D to reset your colors to black&white and paint a 3 dotted line from the upper right to the lower left.

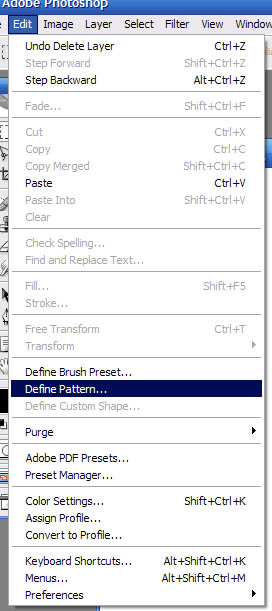
Now go to Edit>Define pattern and name it scanlines or whatever you like to call it.
That was easy wasn’t it?
To use your pattern select the Paint bucket tool, select: Pattern from the dropdown box and choose your pattern.
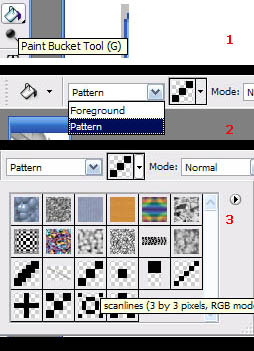
Or go to blending options and apply a pattern overlay.
Make sure you create a new layer before applying the pattern to your work. Sometimes the pattern will look better when
the opacity is lowered a bit.
Check out the result.

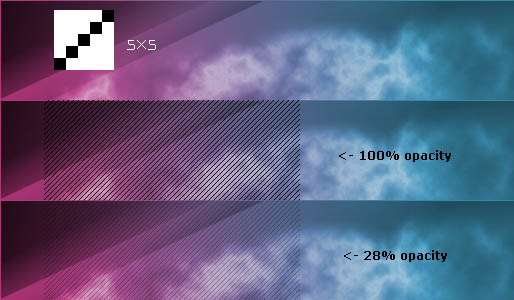
Ofcourse you can also create a pattern where the space between the lines are bigger. To do this use the method above but make a 5 by 5 pixel canvas.
This will be the result.
Horizontal Scanlines
How about some horizontal scanlines? (Useful when you are creating something like a tv or pc screen etc)
Open a new document in photoshop and make it 1 width by 2 height pixels.
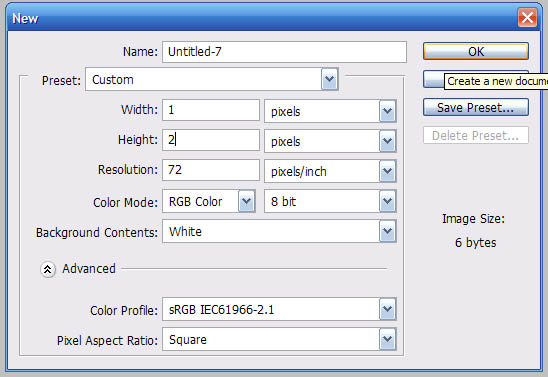
Now create a new layer and delete the “Background” layer so that the image will become transparant.
Zoom in till 1600% by pressing CTRL + a couple of times.
Now grab the pencil tool and set it to 1px size Mode: Normal and Opacity 100%. Same setting as before
Press D to reset your colors to black&white and paint the top pixel black.
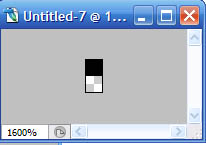
Now go to Edit>Define pattern and name it horizontalscanlines.
Result.
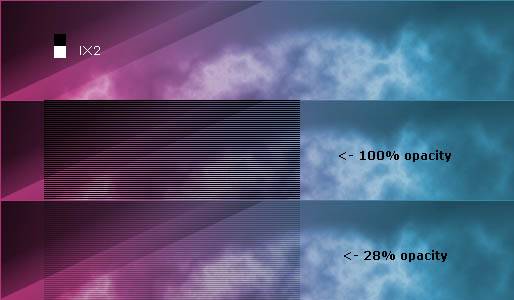
Small dots
Oke now we are creating some small dots.
We use the same method as we used with the scanlines.
Open a new document in photoshop and make it 3 width by 3 height pixels.
Now create a new layer and delete the “Background” layer so that the image will become transparant.
Zoom in till 1600% by pressing CTRL + a couple of times.
Now grab the pencil tool and set it to 1px size Mode: Normal and Opacity 100%.
Press D to reset your colors to black&white and paint a dot in the middle of the canvas.

Now go to Edit>Define pattern and name it smalldots.
Result.

Crosses
Lets make a corss pattern. Create a 5 by 5 pixel document and use the method above
But now you draw a cross.
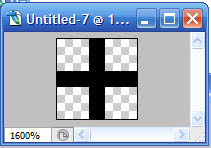
go to Edit>Define pattern and name it crosses1 or whatever.
Result
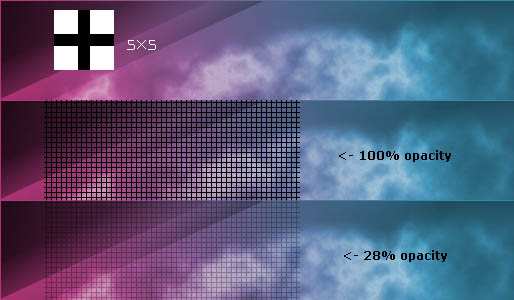
ANTI RIP/copyright protection pattern
Last but not least i will teach you to make a anti rip pattern.
Open a new document and make sure you have enough space. 600 by 600 pixels will do fine. We will crop it later on.
Create a new layer and delete the “Background” layer to make the image transparant.
Now grab the Text tool and use a readable font. Ariel, Tahoma, Verdana, Times, etc.
I used these settings:
Verdana | bold | 12 pt | aa: none
The size should be around 12px, dont make it to large otherwise it wont work well as a pattern.
Now type something like: “created by yourname” or “(c) yourname”. I type (c) and then my name.
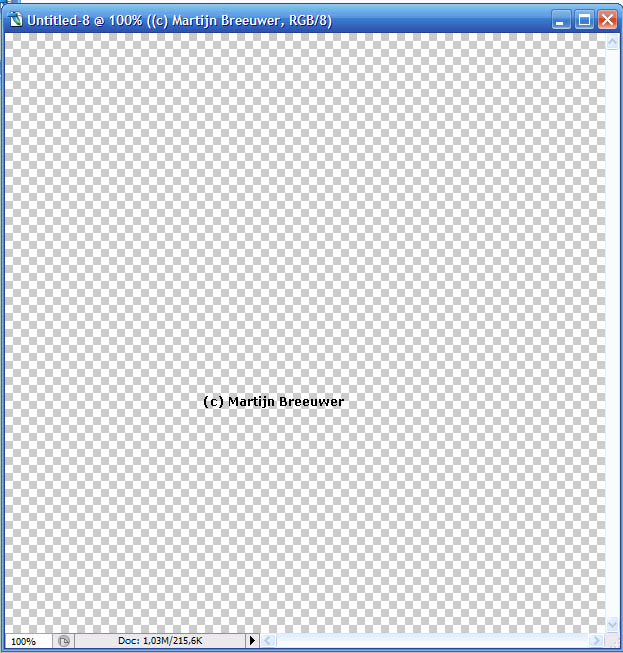
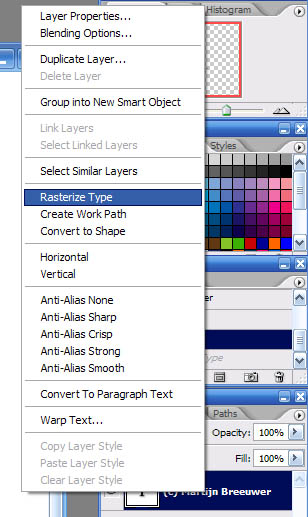
Right click the text layer and select rasterize type or go to Select > rastarize > type.
Now press CTRL T (Free transform) and rotate the name about -30 degrees.

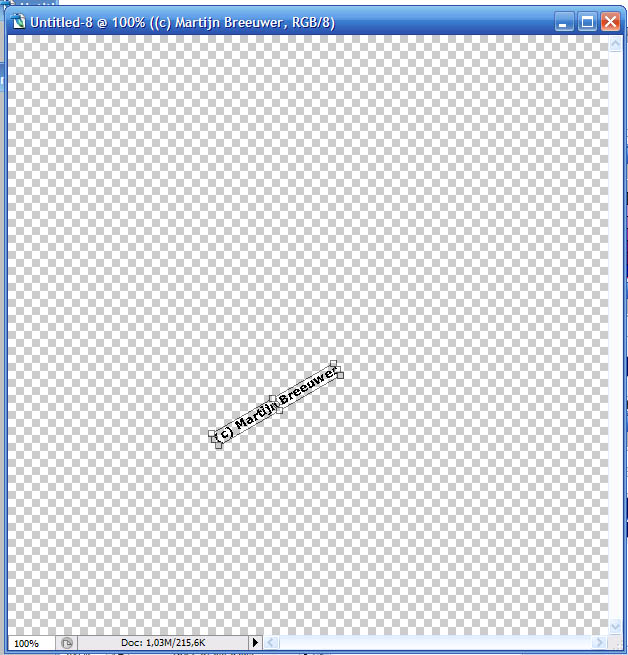
Hit enter to confirm the rotation. Zoom in a bit and select the crop tool.

Place your mouse on the lower part of the text and click and drag it to the top of the text. Make sure you select all the text and leave some space at the top and bottom.
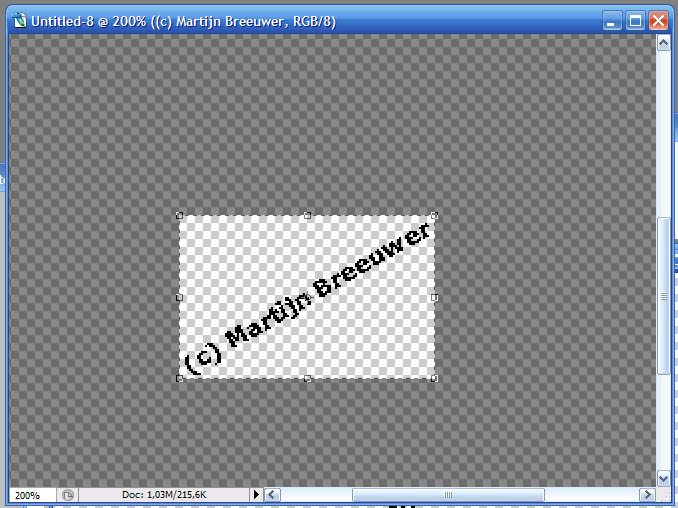
Now hit enter.
You should now have something like this.
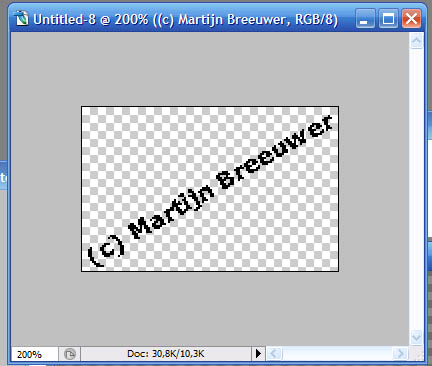
Go to Edit>Define pattern and call it copyright.
Open your latest webdesign you wish to protect from ripper and make a new layer.
Select the Paint Bucket tool and select the copyright pattern. Lower the opacity so that the image will be visible for those who want to look at it
but harder for those who want to rip.
I applied this to a template im working on. Opacity is about 20%.

Combining and expirimenting
Now that you know the way to create pattern, its time to combine and expiriment with it.
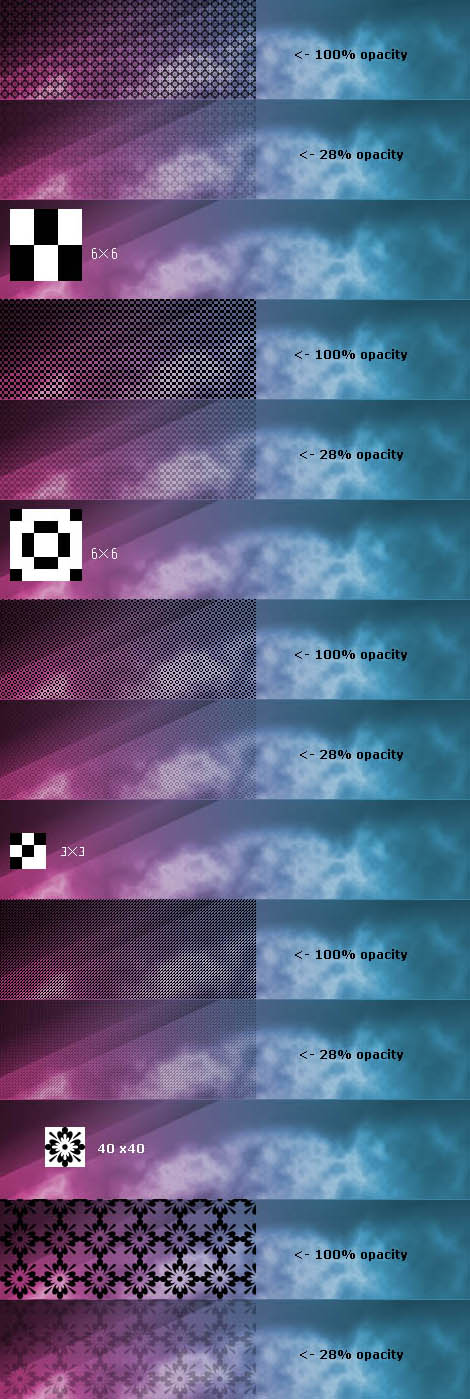
Check out these different patterns. The possibilities are endless. From text, shapes (flowers etc) and lines, they can all be used to make patterns.
Thx for checking out this tutorials, i hope you learned something.





Thank you so much! i’ve always been looking for this!
and i did’nt expect to be that easy!
It is very very ingenious. i found the rip tactics pretty cool. Thanks again
Thank you very very much ^_^