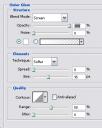
…and apply these glow settling.
8. now, select the upper layer with sea photo and go to Filter >> Render >> Lightening Effects. Apply a spot light as you can see on illustration below…
This will give your photo a darker, and more dramatic look.

10. On the same layer, apply the spot light again, only now lower, on the water, which will create the illusion of moon shining upon the water below.
11. This is the result so far…
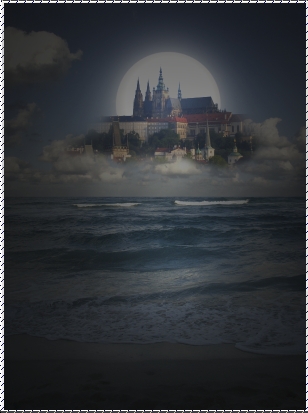
12. Press Ctrl + L to get the Levels panel and apply the following settlings, to “normalize” the darkness range on your canvas.
Now, it will look much more natural.
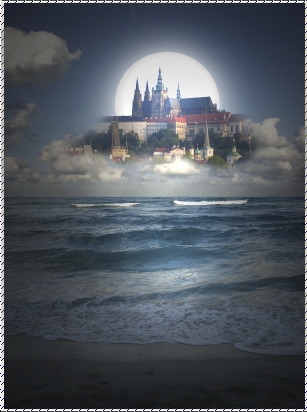
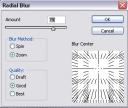
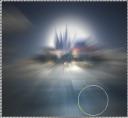
12. Duplicate this later, and go to Filter >> Blur >> Radial Blur. Apply these settings, to give your castle a “blast” effect.
13. Now that the blurred effect applied, using a soft-edge eraser tool (30px +) and remove the blurred layer from the castle fully
Leave the rest blurred.
14. While the blurred layer is still selected, go to Image >> Adjustments >> Brightness / Contrast and reduce brightness, as well as adding contrast.
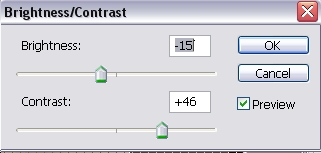
This will make the “rays” of the blur more visible. Reduce the opacity of the blurred layer to abut 30% +.
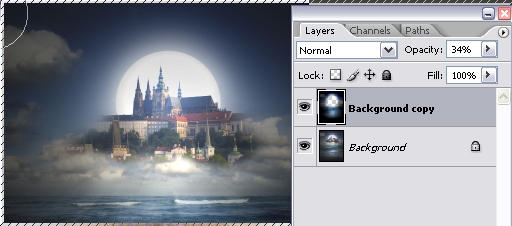
That’s it, your image is ready:
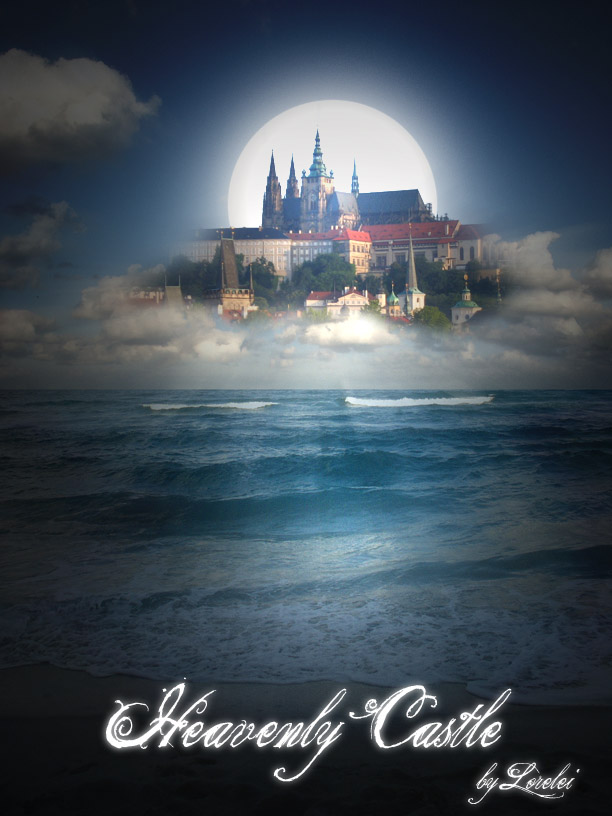
Notes: you can flatten the image after applying the outer glow to the moon, as basically it doesn’t matter if from that point you will be working with layers separately or not. You can duplicate the entire canvas any time and do the radial blur effect using the entire picture, not only the sea layer. Should you have any questions, please post them below. Enjoy!
Pages: 1 2





Amazing tutorial! What font did you use for the text?