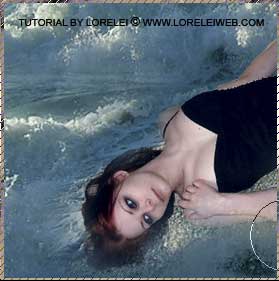
10. Duplicate the upper layer of the ocean, and using the copy that is not on top, go to Filter >> Blur >> Radial Blur and apply maximum Zoom blur, however, placing the blur starting point at the place where the girl is located in your canvas. The idea is to make an illusion of rays shining from under the girl.
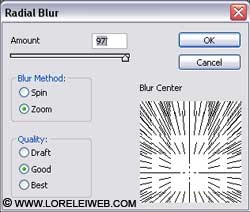
Click OK. This is what you got:
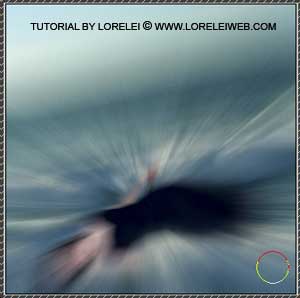
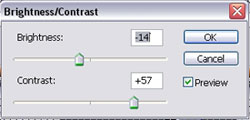
11. While this layer is still selected go to Image >> Adjustments >> Brightness / Contrast and make the image darker / add contrast by apply the settings as shown below.
12. Reduce the opacity of the upper (blurred) layer to 80% or a little less.
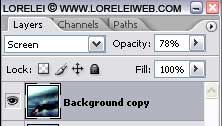
13. Take the eraser tool and remove the blurred later from girls face and body, once again, better leave the edges of her body covered with the upper layer, rather than overdo the eraser too.
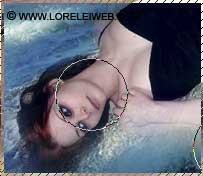
This is what we got…
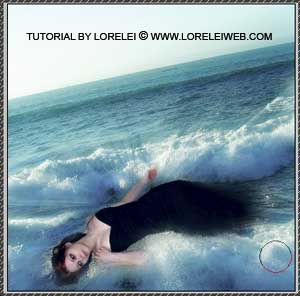
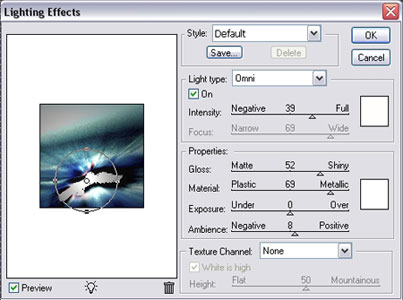
14. Now, go to Filter >> Render Lightening effects, and add omni-spot light with the settings shown below, to both blurred and not blurred ocean layer.
15. Take some good resolution photo of broken glass.
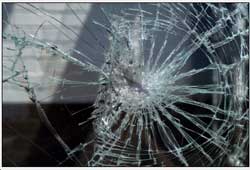
copy and paste the glass on top of your composition and play with the layer’s overlay settings. It would really depend on your initial photo and how dark the broken glass layer is. Pin Light or Hard Light would normally be good, but try whichever settings look best to achieve the following result:
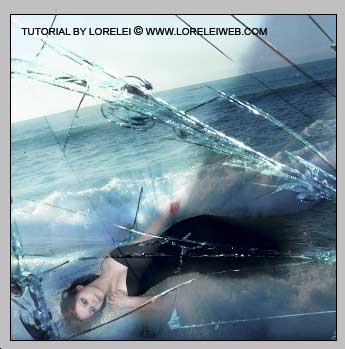
Be sure that the broken glass cracks do not “lay” on the face, or other parts of your composition that you want to be visible.
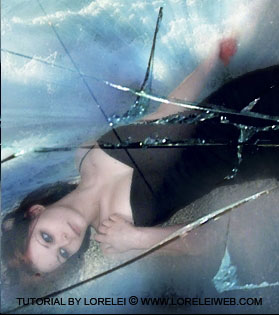
16. Now for the final touch.
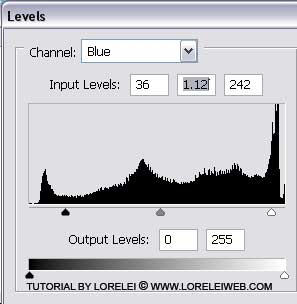
Flatten the image, and press Ctrl + L to go to levels menu. Reduce redness..
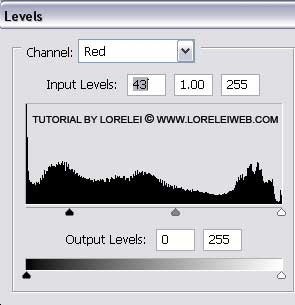
…and play with the blue level channel to give it more depth.
And, here it is, your final result:
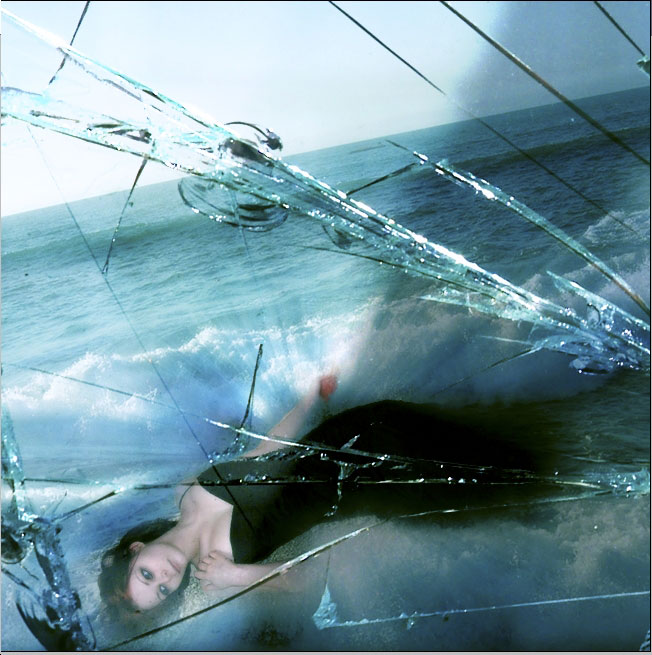
Hope you enjoyed the tutorial, feel free to ask any questions and post your results.


[…] Surreal Fantasy Art Photoshop Photomanipulation Tutorial http://pswish.com/surreal-fantasy-art-photoshop-photomanipulation-tutorial/ […]
WoW 🙂 Awesome and attractive tutorial. Well explained. Very easy to learn . Thanks for sharing this nice tutorial.
Great tutorial and a really nice effect. Definitely something different and I will have to give this a go and see what I can come up with. Thanks for sharing.
luv the art work..