Tutorial written by Elfdaughter
OK, this is just the way I do planet rings. I’ll assume you’ve followed my last tut on how to create the planet, and still have that PSD open.
Create a new document, a little smaller than you want the rings to be.
Fill the background layer with black. On a new layer, make sure your foreground and background coours are set to default, then run the clouds filter.
Then go to Filter – Distort – Twirl.
Set twirl to maximum.
Repeat that filter a couple of times.
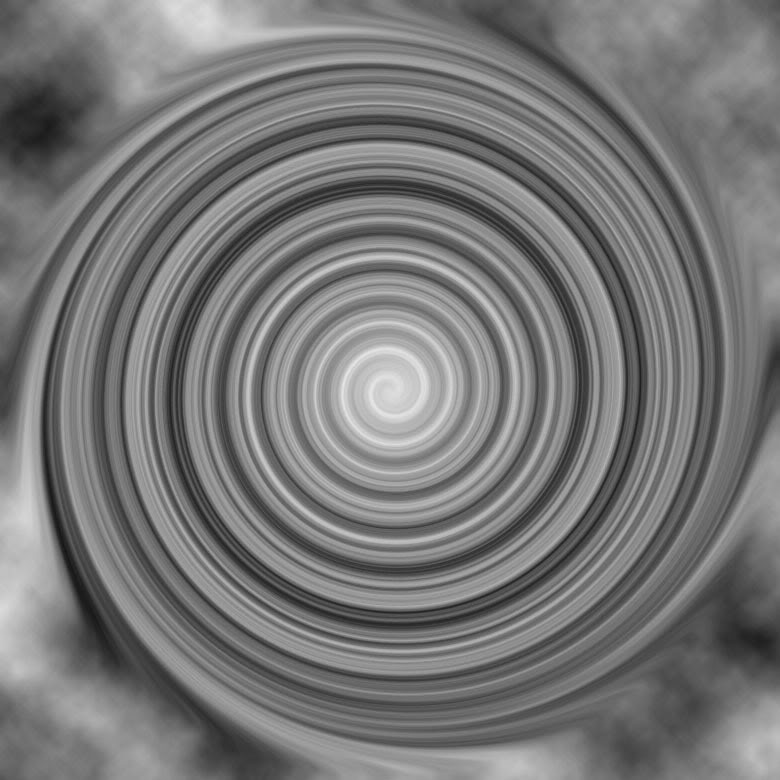
You should now have a spiral shape with a few bits of cloudy areas around the outside, like this:

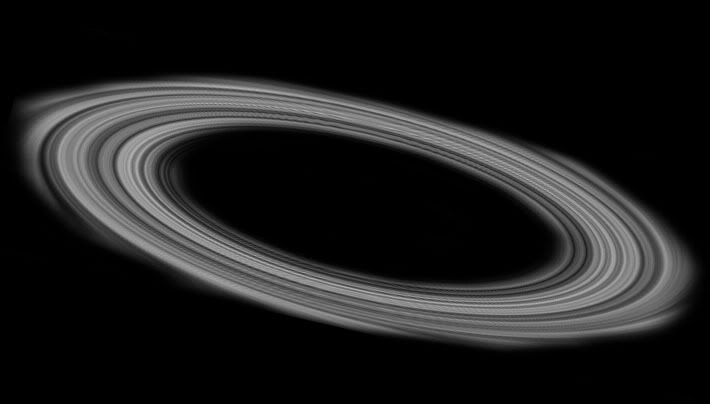
Now take a large soft eraser. and get rid of the cloudy areas around the outside, and part of the middle of the spiral, so you’re left with the amount of rings that you want. Now use Free Transform to squash the layer so the rings look like rings and not a spiral. You should now have something similar to this:

As you can see, I’ve pushed and pulled it around using distort and scale. The next step is to make sure it is completely desaturated by pressing ctrl+u and pulling the saturation slider right down to the bottom. Then go to Filter – Noise – Add Noise. Now, before we go any further, I’ll explain why the noise filter is important. Planet rings are not smooth, as I’ve seen a lot of people think. They aren’t made from gas, but from bits of rock and other space debris that are kept in orbit around a planet due to the force of that planet’s

