This tutorial will show you, step by step, how to take an ordinary photo and turn in into a Renaissance style painting. Please do not mix this tutorial “old photo effect”, as we will try to take our picture not only a few decades back in time, but a few centuries.
This is what will happen…

For a start, take a good quality photo, we used this one:
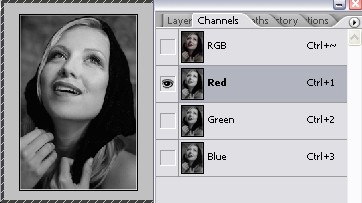
Go to Channels panel and select only the red channel, to make the photo more flat and colourless.
Duplicate this layer 2 times, so that you will have 3 layers in total, including the background.

Take layer nr. 2 and go to Filter >> Artistic >> Smudge Stick, and apply these settings to give a photo more “painted” touch
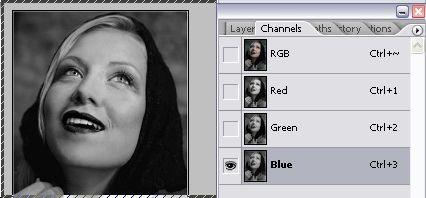
Take the remaining layer (nr. 3) and select only the blue channel

While third layer is still selected, go to Filter >> Artistic >> Poster Edges and apply these settings to give the canvas a more dramatic emphasis.
Reduce the fill opacity of both second and third layer to 50%-55%


dear lorelei
from my inner heart i really thank you for the usfull knowlege
i allways get from you.
awesome post indeed …thanks man…thanks for sharing…